


If you’ve ever pulled a crock pot out of the cupboard only to stare at it like it’s sending encrypted signals, you’re not alone. How To Use A Crock Pot isn’t just about dumping ingredients in and walking away, it’s about understanding how heat, time, and ingredient placement actually work together. Our research shows most failed slow-cooked meals come from misreading visual cues, not broken timers.
Manufacturer specifications indicate that a standard 6-quart crock pot uses roughly 200 watts on low and 400 watts on high as of 2026, but those numbers mean little if you can’t see what’s happening inside. That’s why this guide leans heavily on what you should actually look for, because slow cooking rewards observation, not just instruction-following.
Why a Crock Pot Needs Visual Cues (Not Just Instructions)
Slow cookers don’t have windows into their logic. There’s no “doneness” light, no beep when flavors meld perfectly, just a pot, a lid, and your best guess. That’s why relying solely on time settings often leads to disappointment. You need to learn the visual language of slow cooking: how liquid behaves, how meat shrinks, how vegetables soften without turning to mush.
Think of your crock pot like a low-heat oven you can’t peek into without losing precious steam. Every time you lift that lid, the internal temperature drops by 10, 15°F, adding up to 20 minutes back to your cook time. So instead of guessing, you’ll learn to read the signs that happen before you even open it, like gentle bubbling at the edges or the way aromas shift from raw to deeply savory.
How a Crock Pot Actually Works (Beyond “Low” and “High”)
Your crock pot isn’t just a heated box, it’s a moisture-sealed environment where heat transfers slowly through the stoneware. The ceramic insert holds and radiates heat evenly, while the tight-fitting lid traps steam, creating a self-braising effect. This is why tough cuts like chuck roast or pork shoulder turn fork-tender over hours: the collagen slowly breaks down in that moist, steady heat.
Low and high settings aren’t about temperature so much as time. On low, the stoneware stays around 185, 200°F; on high, it hits 205, 212°F, just shy of a full simmer. The difference? High gets you there faster, but both will eventually reach the same tenderizing zone.
What matters more is consistency: avoid opening the lid, and let the physics do their work.
Key Parts You’ll Interact With Every Time
You’ve got three main components: the base (with the heating element), the removable ceramic insert, and the lid (usually glass). The stoneware is the star, it’s what holds your food and conducts heat. Never place a hot insert on a cold surface; thermal shock can crack it. And always check that the lid seals snugly; if steam escapes constantly, your cook time will stretch unpredictably.
Many newer models include digital timers and auto-switch-to-warm functions, but the core mechanics stay the same. Whether you’re using a vintage manual dial or a programmable smart cooker, the principles of layering, liquid, and heat distribution don’t change.
What a Well-Filled Crock Pot Looks Like (And Why It Matters)
A properly filled crock pot sits between half and three-quarters full. Too little, and food dries out or overcooks; too much, and liquid boils over, making a mess on your counter. You should see ingredients submerged just enough that the liquid covers the bottom third of the densest items, like potatoes or carrots.
Look for even distribution: no towering mounds of meat or buried vegetables. Dense foods (root veggies, beans) belong on the bottom, closer to the heat source. Delicate items (leafy greens, dairy, seafood) go in during the last 30, 60 minutes. If your pot looks lopsided or overcrowded, your meal will cook unevenly, no timer can fix that.
Common Visual Mistakes That Ruin Your Meal
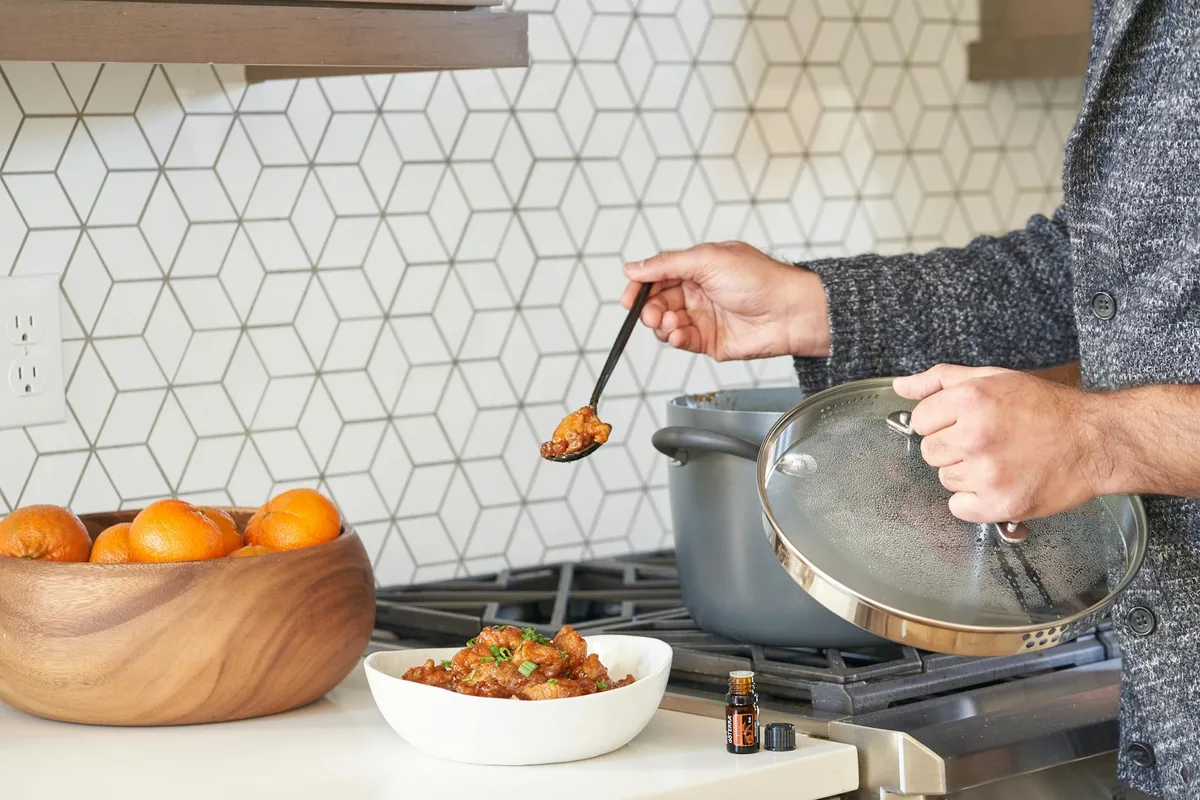
The biggest offender? Overfilling. When liquid bubbles past the lid, it cools the stoneware’s rim, creating hot spots that scorch food underneath. Another classic: adding frozen ingredients straight from the freezer.
Ice crystals lower the internal temperature drastically, pushing food into the danger zone (40, 140°F) for too long, a food safety risk.
You’ll also spot trouble if meat looks grey and stringy instead of rosy and cohesive, that’s overcooking. Or if vegetables are still crunchy after 8 hours on low, they were likely buried under denser items or didn’t get enough direct heat. These aren’t failures of the pot; they’re signals you missed the visual cues during setup.
Step-by-Step: From Raw Ingredients to Perfect Texture
Start by prepping everything cold, chopped veggies, cubed meat, measured broth. Don’t rinse poultry; it spreads bacteria. Pat meat dry with paper towels; moisture on the surface steams instead of browning later. Add dense vegetables first: potatoes, carrots, onions.
They need more time and sit closest to the heat.
Place meat on top, then pour in liquid until it reaches just below the meat’s midpoint. Too much liquid dilutes flavor and extends cook time; too little risks scorching. Set the timer based on your cut: poultry breasts take 4, 6 hours on low, while chuck roast needs 8, 10. Never peek before the final hour.
Layering Ingredients the Right Way (A Visual Guide)
Dense items go down, delicate ones go up. Think of your crock pot like a heat ladder: the bottom gets the most direct warmth. Root vegetables, beans, and seared meat belong at the base. Layer herbs and spices near the middle so they infuse gradually.
Save dairy, leafy greens, and seafood for the last 30, 60 minutes, they’ll turn slimy if cooked too long.
You’ll know your layering’s right if liquids pool evenly around the sides, not just in one corner. If everything looks stacked like a Jenga tower, redistribute before turning it on. Overcrowding blocks heat flow; underfilling dries out food. Aim for a balanced, flat surface, no peaks or valleys.
Browning First: The Secret Step You Can’t Skip
Skipping the sear? You’re missing deep flavor. A quick 2, 3 minute sear per side in a hot skillet builds a crust that slow cooking alone can’t create. This Maillard reaction adds richness to stews, chilis, and braises, without it, dishes taste flat, no matter how long they cook.
Use a heavy pan (cast iron works best) and just a teaspoon of oil. Don’t move the meat once it hits the pan; let it develop that golden-brown crust. Then transfer it straight to the crock pot. The fond, those browned bits left in the pan, can be deglazed with a splash of broth and poured in too.
That’s flavor insurance.
How to Tell When Food Is Done (Without a Timer)
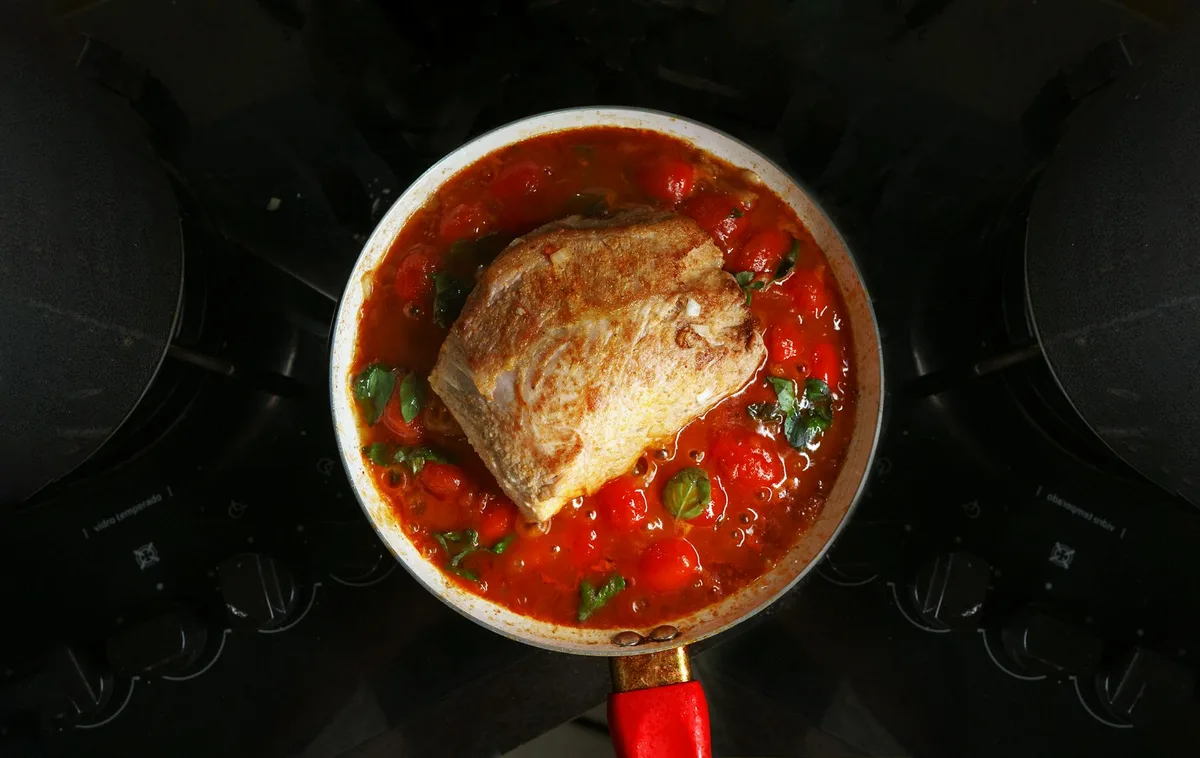
Timers lie. Meat shrinks, fibers separate, and bones pull away easily when ready. Use a fork: if it twists out cleanly with no resistance, you’re there. For poultry, internal temp should hit 165°F; for pork or beef, 145°F plus a 3-minute rest.
But visuals matter more, look for clear juices, not pink.
Vegetables should yield slightly when pressed with tongs but retain shape. If they’re disintegrating, they’ve overcooked. Soups and stews are done when flavors meld, taste a spoonful. It should taste rounded, not like separate ingredients.
That’s the real finish line.
Cleaning Stuck-On Food Without Scrubbing Forever
Let the stoneware soak in warm, soapy water for 15, 20 minutes after cooking. Burnt bits loosen when hydrated. Use a soft sponge, never steel wool or abrasive pads; they scratch the glaze, trapping grease. For stubborn spots, mix baking soda and water into a paste, let it sit 10 minutes, then wipe.
Never submerge the base. Wipe it with a damp cloth only. If food spills onto the heating element, unplug and cool completely before cleaning. Cracked or crazed stoneware should be replaced, it harbors bacteria and heats unevenly.
A well-maintained insert lasts years.
When to Use a Crock Pot (And When Not To)
Crock pots shine for long, hands-off cooking: stews, roasts, beans, and soups that benefit from hours of gentle heat. They’re ideal when you want dinner ready after work or need to feed a crowd without babysitting a stove. If you’re cooking something that needs quick high heat, like stir-fries, seared scallops, or delicate fish, skip the slow cooker. It won’t brown properly and can overcook tender proteins.
They also struggle with recipes requiring precise timing, like risotto or pasta. And while some models have a sauté function, most don’t get hot enough for proper caramelization. Use your crock pot for what it’s built for: low, slow, and forgiving. Save the rest for pans that give you control.
Safety Checks You Can See and Feel
Before plugging in, check the stoneware for hairline cracks, hold it up to light. Even tiny fractures can expand and cause breakage when heated. Feel the lid’s seal; it should sit flush without gaps. If steam escapes consistently during cooking, your cook time will lag and food may not reach safe temps.
Never operate an empty crock pot. The dry stoneware can crack within minutes. Also, keep the base away from water and never immerse it. If you smell burning or see scorch marks on the insert’s bottom, unplug immediately.
These are signs of overheating, often from insufficient liquid or food stuck to the base.
Pro Tips for Better Texture and Flavor Every Time
Add acidic ingredients, like tomatoes or wine, toward the end if you’re cooking over 8 hours. Too early, and they can make meat tough. Salt at the beginning; it helps break down proteins and seasons throughout. For brighter flavor, finish with fresh herbs, lemon zest, or a splash of vinegar in the last 15 minutes.
Thicken sauces after cooking by mixing cornstarch with cold water and stirring it in during the final 30 minutes on high. Don’t rely on slow cooker evaporation; lids trap moisture, so liquids rarely reduce much. If your stew looks too watery at the end, transfer it to a pot and simmer uncovered to concentrate flavors.
Leftovers Done Right: Storing and Reheating Visually
Cool leftovers within two hours, leave the lid off and stir occasionally to release heat. Once room temperature, transfer to shallow containers no deeper than two inches. This speeds chilling and prevents bacterial growth. Label with the date; most crock pot meals keep 3, 4 days in the fridge or 3 months frozen.
Reheat in a pot on the stove over medium-low, adding a splash of broth if needed. Microwaving works but can dry out meat. Look for even steaming, not violent bubbling. If reheated soup separates, whisk in a teaspoon of cornstarch slurry to re-emulsify.
Always bring leftovers to 165°F internally before serving.
