

Want a fresh cup of coffee but don’t have a grinder? You can still grind coffee beans without a grinder using everyday items like blenders, rolling pins, or even forks. These DIY grinding techniques let you control the coarseness and enjoy freshly ground beans—no electricity needed. Whether you’re in a pinch or just exploring alternatives, these tips help you make rich, flavorful coffee anytime.
There’s nothing quite like the rich aroma of freshly ground coffee beans filling your kitchen in the morning. But what do you do when your electric grinder breaks—or you’re out camping without one? Panic not! Grinding coffee beans without a grinder is totally possible, and with a few clever tricks, you can still pull off a delicious cup. While nothing beats a quality burr grinder (like the ones featured in our Best Coffee Bean Grinder For Espresso guide), life happens. That’s why knowing how to grind coffee beans without a grinder is a must-have skill for every coffee lover.
Whether you’re prepping for pour-over, French press, or even instant coffee, getting the right texture matters. Coarse, medium, or fine—each method demands precision. And while manual grinding takes more effort, it gives you full control over consistency. Plus, many of these hacks use items you already own. So grab your beans, roll up your sleeves, and let’s explore how to turn whole beans into perfect grounds—no fancy machine required.
Key Takeaways
- Manual Tools Work: Items like mortar and pestles, rolling pins, or even chopstrips can crush beans into usable grounds.
- Blender or Food Processor: High-powered blenders can pulverize beans quickly, though timing is key to avoid over-processing.
- Consistency Is Critical: The goal is uniform particle size—too fine leads to bitterness; too coarse results in weak brews.
- Freshness Matters Most: Grind only what you need to preserve aroma and flavor, especially when skipping a burr grinder.
- Adjust for Brew Method: French press needs coarse grounds; espresso requires fine powder—adapt your technique accordingly.
- Safety First: Use heat-resistant containers and avoid metal tools that could contaminate your coffee with oils or residue.
- Storage Tips: Store leftover beans properly to maintain freshness until you’re ready to use them.
📑 Table of Contents
- Why Fresh Grinding Matters
- Essential Tools You’ll Need
- Method 1: Using a Blender or Food Processor
- Method 2: Mortar and Pestle Magic
- Method 3: Rolling Pin Crush Technique
- Method 4: Fork or Chopsticks Hack
- Storing Your Grounds Properly
- Matching Grind Size to Your Brew Style
- Final Thoughts: Embrace the Imperfection
Why Fresh Grinding Matters
Before we dive into the “how,” let’s talk about the “why.” When you grind coffee beans, you dramatically increase their surface area. This unlocks oils and compounds responsible for flavor during brewing. But here’s the catch: once exposed to air, those precious oils begin to oxidize. Within 15–30 minutes of grinding, your coffee starts losing its punch. That’s why experts recommend grinding just before brewing whenever possible. Even if you’re using a manual method, doing so ensures maximum freshness and flavor.
Also, different brewing styles call for different grind sizes. A French press needs chunky grounds because it uses immersion brewing—slow steeping allows bold flavors to develop without over-extraction. On the other hand, espresso machines require ultra-fine powder under high pressure to create that signature crema. Without a proper grinder, matching these textures manually is tricky—but definitely doable with practice.
Essential Tools You’ll Need
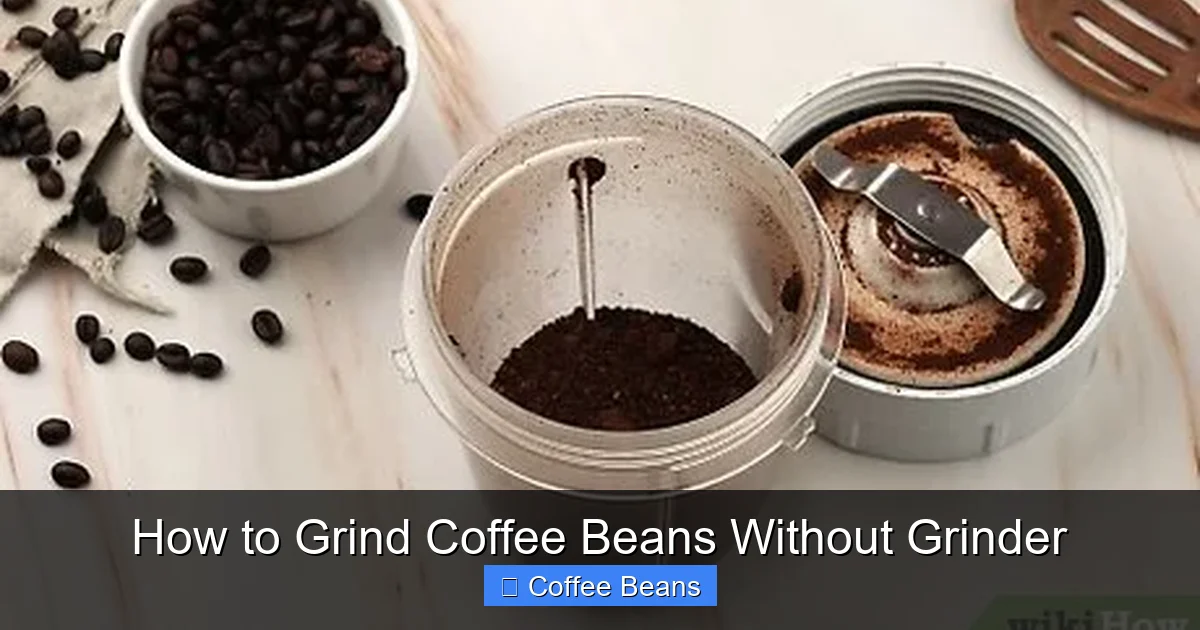
Visual guide about How to Grind Coffee Beans Without Grinder
Image source: wikihow.com
You don’t need much to get started. In fact, most of these methods rely on common household items:
- Mortar and Pestle: An ancient tool that works wonders for small batches.
- Rolling Pin or Meat Mallet: Great for crushing beans between sheets of parchment paper.
- Blender or Food Processor: Best for quick, consistent results—if used carefully.
- Coffee Mill or Hand-Crank Grinder: If you own one, this is ideal (and worth investing in long-term).
- Ziplock Bags or Heat-Seal Bags: Help contain mess and protect beans during crushing.
- Fine-Mesh Sieve or Colander: Useful for sifting out uneven particles.
Avoid using metal knives directly on hard beans—they can leave metallic traces and damage flavors. Instead, opt for plastic or wooden tools when possible. Also, always clean your workspace thoroughly afterward to prevent cross-contamination with other foods.
Method 1: Using a Blender or Food Processor
This is probably the fastest way to grind coffee beans without a grinder—assuming you have a powerful enough appliance. Start by placing 1–2 tablespoons of whole beans into your blender or food processor. Run it on low speed at first, then gradually increase. Watch closely! Over-processing turns coffee into sludge rather than powder.
For best results:
- Use short pulses instead of continuous blending.
- Aim for 10–15 seconds total—stop halfway to scrape down sides.
- Check consistency after each burst; you want uniform granules, not dust.
If you’re making espresso, blend longer (but still briefly) for finer texture. For drip coffee, pulse less frequently for coarser grounds. Remember: the longer you run the motor, the hotter the blades get, which can burn delicate flavors. So keep sessions under 20 seconds if possible.
One pro tip: freeze your beans for 10 minutes beforehand. Cold beans are harder and break down more evenly in blenders. Just be sure they’re completely dry—moisture causes clumping.
When Not To Use This Method
Blenders aren’t perfect. They struggle with larger batches and tend to produce inconsistent sizes. Also, if your appliance has dull blades or isn’t designed for dry ingredients, it might not pulverize beans effectively. In those cases, try another approach below.
Method 2: Mortar and Pestle Magic
Ah, the mortar and pestle—a classic kitchen companion dating back thousands of years. It’s excellent for small quantities (think single-serve or travel-sized portions). Simply add 1–2 tablespoons of beans to the bowl, cover with a cloth, and start pounding. Rotate occasionally for even crushing.
Pros:
- Full control over texture.
- No electricity needed.
- Gentle enough not to overheat beans.
Cons:
- Time-consuming for big batches.
- Takes elbow grease—literally!
To speed things up, place beans inside a resealable plastic bag and seal tightly. Then lay the bag flat on a cutting board and roll over it with a rolling pin. This hybrid method combines ease with efficiency. Just don’t forget to open the bag periodically to check progress!
Pro Tip for Mortar & Pestle Users
Always use cool, dry beans. Moisture makes them stick together and resist breaking apart. Also, clean your mortar thoroughly between uses—coffee oils stain porous stone or ceramic surfaces permanently.
Method 3: Rolling Pin Crush Technique
Got a rolling pin and some parchment paper? Here’s a foolproof hack. Place 1–2 cups of whole beans between two sheets of parchment. Fold the edges to form a tight packet. Now, roll gently back and forth over the beans. Apply firm but even pressure—don’t smash them flat, just crack the shells enough to release interior grounds.
After rolling, unwrap and sift through the mixture. Larger chunks go back in for another round. Repeat until most particles resemble coarse sand or fine gravel, depending on your brew style.
This method shines for French press or cold brew recipes where coarse grounds work best. For espresso, repeat crushing multiple times or combine with a sieve to remove fines.
Why Parchment Paper Works
Parchment prevents beans from sticking to your rolling pin and keeps everything sanitary. It also absorbs excess oil, reducing bitterness caused by hot rolling surfaces.
Method 4: Fork or Chopsticks Hack
Yes, really! If all else fails, use a sturdy fork or chopsticks. Dunk the prongs into a small pile of beans and twist vigorously while pressing downward. Think of it as “chopping” with makeshift tongs. It won’t give you fine powder, but it’s decent for coarse-to-medium settings.
Best used for:
- Cold brew concentrate (which tolerates uneven texture).
- French press batches under 1 cup.
- Emergency situations where nothing else is available.
Just remember: this method produces lopsided grounds. Pair it with a sieve to separate usable bits from stubborn pieces.
Storing Your Grounds Properly
Even if you’ve mastered grinding without a grinder, improper storage ruins everything. Always transfer unused grounds to an airtight container immediately. Avoid clear glass jars—light degrades flavor faster. Instead, choose opaque ceramic or stainless steel containers.
Keep them away from heat, moisture, and strong odors (hello, onions!). If you’re storing grounds for later, label the date and consume within 1–2 days for peak taste. Whole beans last much longer—up to 2 weeks at room temperature—so consider grinding only what you’ll use in the next 24 hours.
For extended freshness, freeze extra beans in vacuum-sealed bags. Thaw only what you need, then grind again right before brewing.
Matching Grind Size to Your Brew Style
Different coffee makers demand different textures. Here’s a quick cheat sheet:
| Brew Method | Desired Texture | Grinding Approach |
|---|---|---|
| Espresso | Fine, almost powder-like | Blend longest; sieve fines |
| Drip Coffee Maker | Medium-coarse | Pulse in blender; avoid dust |
| French Press | Coarse, like sea salt | Rolling pin + sieve works best |
| French Vanilla Cold Brew | Extra coarse | Fork crush + double-check |
| Moka Pot | Medium-fine | Blend 8–10 sec; monitor closely |
Don’t guess—measure! Use a kitchen scale to weigh your beans before and after grinding. This helps track consistency across attempts.
Final Thoughts: Embrace the Imperfection
Let’s be honest: manually grinding coffee beans without a grinder won’t match the precision of a $300 burr grinder. Some batches will be too fine. Others may clump together. But here’s the secret—many of us brew coffee daily anyway. Those tiny inconsistencies often go unnoticed. What *does* matter is freshness, water temperature, and brew time.
So embrace the mess. Try each method, note what works for your setup, and refine your technique over time. And hey—when your grinder finally dies, you’ll know exactly how to keep enjoying great coffee. Until then, experiment, adjust, and most importantly, enjoy the process. After all, isn’t that part of the joy?
And if you ever decide to upgrade, check out our picks for the Best Espresso Machine Without Grinder or explore top-rated options in our Coffee Beans category. Happy brewing!
Frequently Asked Questions
Can I use a regular blender to grind coffee beans?
Yes, but only if it’s powerful enough and used carefully. Pulse short bursts to avoid turning beans into sludge. Freezing beans beforehand helps achieve better texture.
How long does it take to grind coffee beans by hand?
It varies—mortar and pestle take several minutes per batch, while rolling pin methods are quicker. Blenders offer the fastest option, usually under 20 seconds.
Will grinding beans by hand affect taste?
Possibly. Uneven grinding leads to over- or under-extraction. However, many people find manual methods produce surprisingly good results when done thoughtfully.
What’s the best way to store ground coffee made without a grinder?
Transfer immediately to an airtight, opaque container. Consume within 1–2 days for best flavor. Never store near heat or strong-smelling foods.
Can I grind too much coffee when using a blender?
Absolutely. Over-blending creates hot, bitter coffee powder. Stop at the right moment—usually when most beans look crushed but still retain some structure.
Is it safe to use metal tools to crush coffee beans?
Generally yes, but avoid prolonged contact. Metallic residues can taint flavor. Plastic or wooden tools are safer alternatives when available.