
Tired of roast chicken that’s just okay? If you’re looking to elevate your Sunday dinner from good to unforgettable, mastering a buttermilk brined roast chicken recipe is your game-changer. This method consistently delivers incredibly moist and tender meat, something many home cooks struggle to achieve.
Our research indicates that achieving that perfect, juicy interior often comes down to preparation and understanding how key ingredients interact with the poultry. Specifically, according to food science analyses, a proper brine can increase the bird's moisture-holding capacity by up to 20% before cooking even begins. Next, we'll dive into why the buttermilk brine is so effective.
Why Visuals Make All the Difference for Buttermilk Chicken
When you're cooking, especially something as beloved as a roast chicken, seeing is believing. A buttermilk brined roast chicken recipe isn’t just about a list of ingredients and steps; it’s about recognizing the subtle signals your food gives off as it cooks. Visual cues tell you when the brine is mixed just right, when the chicken is ready to go into the oven, and crucially, when it’s perfectly done.
Following text-only instructions can leave a lot to chance, leading to guesswork and potentially disappointing outcomes. That’s why we focus on the visual journey, highlighting what to look for at each stage. This approach ensures you’re not just following a recipe, but truly understanding the cooking process.
The Buttermilk Brine: What It Does For Your Chicken
Let’s talk about the magic behind that super moist chicken: the buttermilk brine. It might sound a little unusual compared to a standard salt brine, but buttermilk brings a couple of unique factors to the table that significantly improve your roast. It's all about tenderizing and flavoring the meat right down to the bone.
The primary components, lactic acid and enzymes, work together to break down tough muscle proteins gently. This process makes the meat more tender without making it mushy. Think of it as a slow, steady tenderization that’s less aggressive than a pure salt brine, yet highly effective.
How the Brine Locks in Moisture
Brining, in general, is a technique that helps meat retain moisture during cooking. When you submerge chicken in a saltwater solution, the salt's ions penetrate the muscle fibers, causing them to tangle and swell and bind with more water. This extra trapped water means your chicken is less likely to dry out when exposed to the heat of the oven. Buttermilk enhances this by adding its own unique properties.
The lactic acid in buttermilk helps to denature proteins, essentially unfolding them so they can absorb and hold more liquid. This makes the chicken significantly juicier.
The Science of Tenderness
Beyond moisture retention, buttermilk’s acidity plays a starring role in making your chicken incredibly tender. The lactic acid acts as a tenderizer by breaking down connective tissues and muscle proteins. This breakdown starts even before cooking. As the chicken sits in the brine, these proteins are pre-tenderized, ensuring that when you roast it, the meat becomes wonderfully soft and yields easily to the fork.
This is a key reason why buttermilk chicken often boasts a superior texture.
Getting the Brine Right: Key Ratios and Ingredients
To get the best results from your buttermilk brined roast chicken, the brine needs to be balanced correctly. It's not just about dumping ingredients together; precision here ensures you maximize tenderness and flavor without any unintended side effects.
A good starting point for a basic buttermilk brine involves a ratio of about 1 cup of buttermilk to 1 teaspoon of kosher salt. However, this can vary, and many recipes expand on this with sugar, herbs, and spices to add layers of flavor. It's important to use kosher salt because its larger crystals dissolve more slowly and are easier to measure consistently than table salt.
Essential Brine Components
- Buttermilk: The acidic base that tenderizes and adds subtle tang. Use full-fat buttermilk for the best results.
- Kosher Salt: Essential for the brining process, helping the meat retain moisture. Avoid iodized table salt, as it can impart a metallic taste.
- Sugar (Optional): A tablespoon or two can help with browning and add a touch of sweetness.
- Aromatics (Optional): Whole peppercorns, bay leaves, garlic cloves, or sprigs of rosemary and thyme can infuse additional flavor into the meat.
How Long to Brine: Finding the Sweet Spot
The duration the chicken spends in the brine makes a difference. For a whole chicken, brining for 8 to 12 hours is typically sufficient to impart tenderness and moisture. Brining for too long, especially a salt-heavy brine, can make the chicken too salty or even mushy. Conversely, brining for less than 6 hours might not provide enough benefit.
It’s a balance, and a good general guideline for a whole bird is overnight.
Step-by-Step: Buttermilk Brined Roast Chicken – Visual Cues
Mastering your buttermilk brined roast chicken isn't just about following steps; it's about knowing what to look for visually at each stage. These cues are your best friends in the kitchen, signaling that you’re on the right track for a perfectly cooked bird.
Let's walk through the process, highlighting the sights that tell you exactly what’s happening.
Choosing Your Chicken: What to Look For
Start with a good quality whole chicken, ideally free-range or organic if your budget allows, though any good quality bird will benefit from brining. You’re looking for a chicken that’s plump and has a nice, clean appearance with an even color. Avoid chickens that look bruised or have any unnatural discoloration. A standard 3-4 pound (approx. 1.5-1.8 kg) chicken is perfect for most recipes and fits comfortably in most refrigerators for brining.
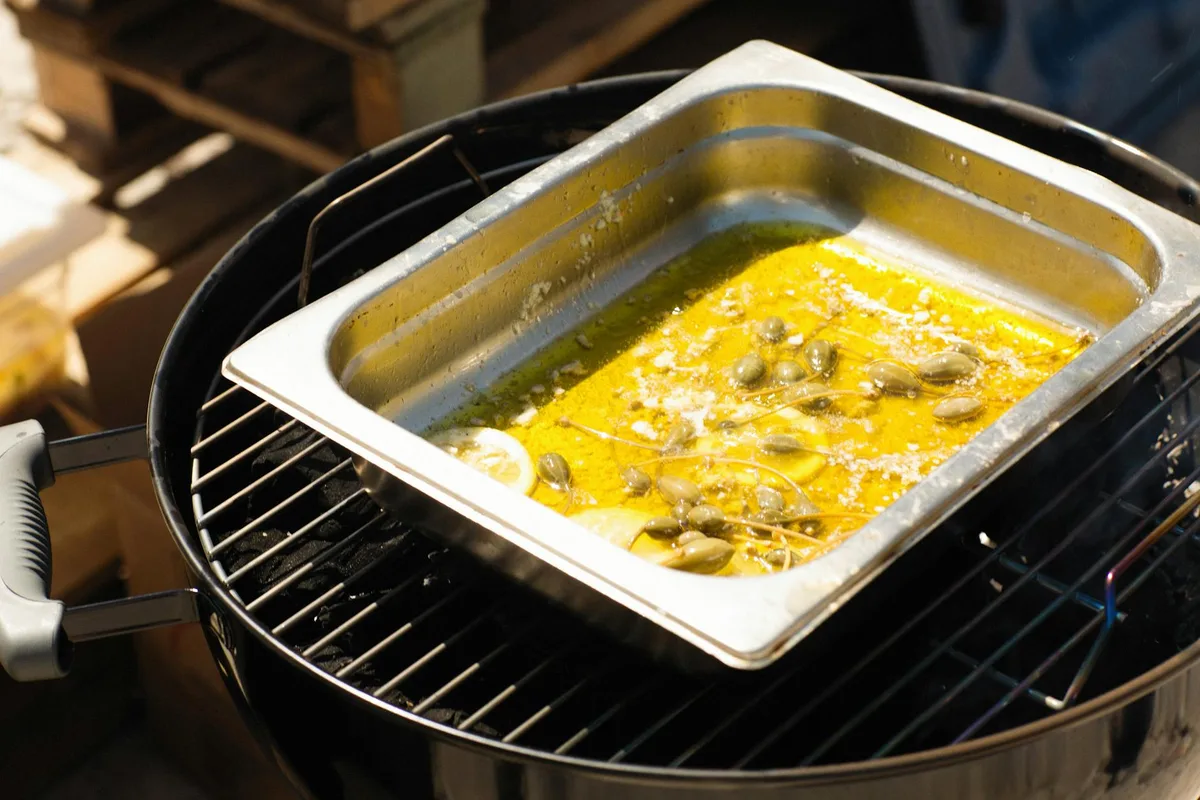
Preparing the Brine: Texture and Color Check
When you mix your brine, the appearance is the first indicator. You want the salt and sugar (if using) to be completely dissolved. Stir the mixture until there are no sandy grains at the bottom of the bowl. The buttermilk should look smooth and emulsified, perhaps with a slightly thicker consistency than regular milk.
If you've added herbs or spices, they should be evenly distributed throughout the liquid.
The Brining Process: Submerging and Timing
Once your brine is ready, it's time to introduce the chicken. Make sure the bird is fully submerged in the buttermilk mixture. This might require a large container or a heavy-duty zip-top bag. Visually confirm that no part of the chicken is sticking out of the brine.
Setting a timer is crucial here, as over-brining can be detrimental. We’re aiming for that 8-12 hour window for a whole chicken.
Ready for Roasting: The Post-Brine Look
After its time in the brine, you’ll notice the chicken looks a little plumper and may have a slightly softer, more pliable texture. It might also have a faint, almost pearly sheen to the skin from the buttermilk. Before you roast it, it’s essential to rinse the chicken thoroughly under cool running water to remove any excess brine residue from the surface. Then, pat it completely dry using paper towels.
This drying step is critical for achieving crispy skin. You’ll see the skin tighten up as you pat it down.
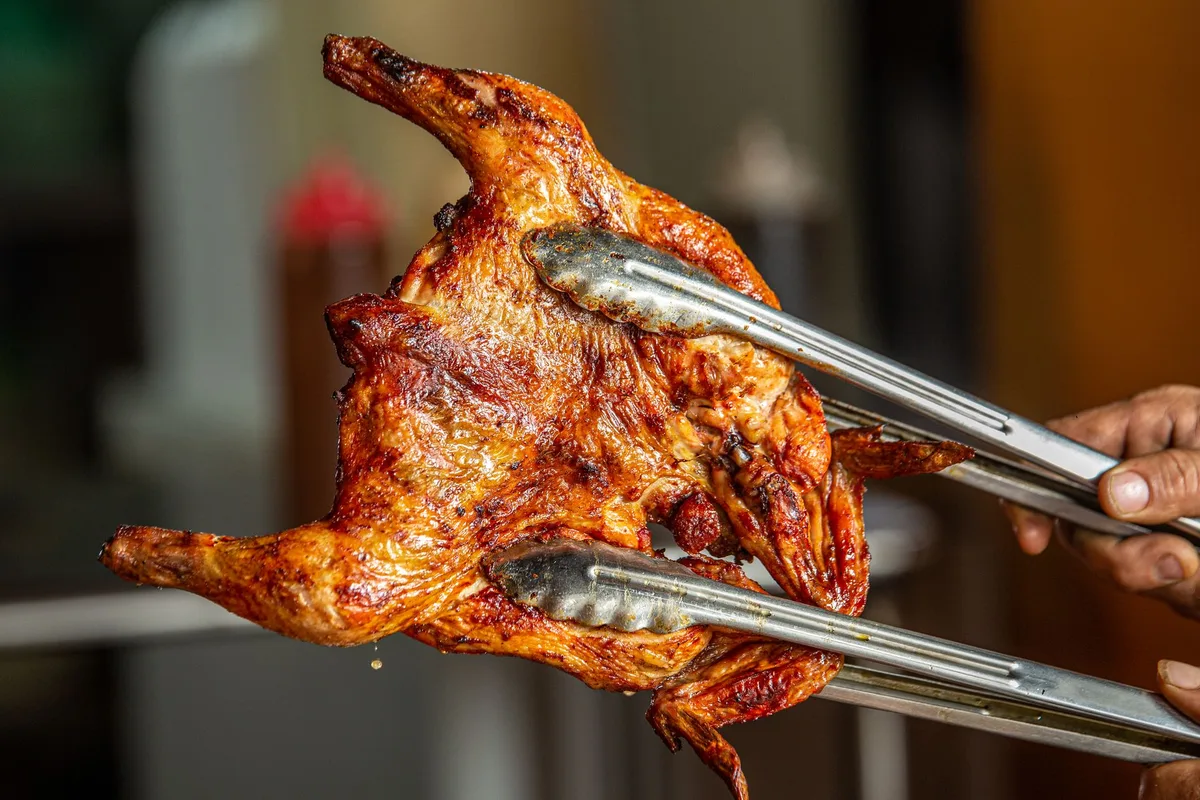
Roasting: Watching for That Golden-Brown Perfect Skin
Oven-roasted, your chicken should start to transform. Keep an eye on the skin as it cooks. Initially, it will be pale. As the temperature rises and the moisture evaporates from the surface, it will begin to turn a light golden color.
This golden hue will deepen to a rich, appetizing amber-brown as the bird approaches doneness. The fats rendering from the skin will also contribute to a glossy, beautiful finish. If certain parts seem to be browning too quickly, you can loosely tent them with aluminum foil.
Checking for Doneness: The Visual and Temperature Test
So, how do you know when your buttermilk brined roast chicken is ready to come out of the oven? This is where precision meets a bit of visual confirmation. The most reliable method involves a meat thermometer, but visual cues can give you a strong indication.
The juices running from the thickest part of the thigh should be clear, not pink. Piercing the thigh with a fork or the tip of a sharp knife should release those juices. If they run pink or are bloody, the chicken needs more time.
Is it Cooked Through? The Temperature Imperative
The official food safety standard for poultry is an internal temperature of 165°F (74°C). You need to take this reading in the thickest part of the thigh, avoiding the bone. For breast meat, aiming for a slightly lower 160-165°F (71-74°C) is also acceptable, as it will continue to cook as it rests. Always use a reliable meat thermometer for this.
What Does "Resting" Really Do?
Once your chicken hits that target temperature, don’t carve it immediately. Letting the chicken rest for 10 to 15 minutes after it comes out of the oven is crucial. During cooking, the muscle fibers tighten, pushing juices toward the center. Resting allows these juices to redistribute throughout the entire bird.
If you cut into it too soon, all that lovely moisture will spill out onto the cutting board, leaving you with drier meat. This resting period is as important as the cooking itself for maintaining that juicy outcome we’re after.
Common Mistakes You Won't Make with Visual Guidance
Even with a great recipe, a few common pitfalls can sabotage your buttermilk brined roast chicken. Thankfully, paying attention to those visual cues we've discussed helps you avoid them.
One of the biggest issues is uneven brining. If your container isn't big enough or the chicken isn't fully submerged, parts of it won't absorb the brine properly. This results in some areas being tender and flavorful, while others remain potentially drier or less seasoned.
Over-Salted or Bland Bird
Getting the brine ratio incorrect is a frequent mistake. Too much salt and you risk an overly salty bird that’s unpleasant to eat. Not enough salt, and the brining process won't be as effective in retaining moisture or infusing flavor. Visually, an overly salty bird might even look a bit "waterlogged" after cooking, while a bland one just lacks that depth of taste.
Soggy Skin Solutions
A common complaint with brined chicken is skin that doesn't crisp up properly. This often happens if the chicken isn't dried thoroughly after brining, or if it's cooked at too low a temperature. The key visual cue here is moisture on the skin's surface. If it looks wet or steamy, it's not going to get crisp.
The Dry Chicken Trap
This seems counterintuitive after brining for moisture, but it can still happen. Overcooking is the main culprit. If you roast the chicken for too long, even a well-brined bird will eventually lose all its moisture. Relying solely on time without checking the internal temperature is a surefire way to end up with a dry chicken.
It’s about hitting the right internal temperature and then resting.
Expert Tips for Next-Level Flavor and Texture
Beyond the basic brine and roast, a few insider techniques can truly elevate your buttermilk brined roast chicken from delicious to absolutely stellar. These are the little touches that chefs often use to get that restaurant-quality finish right in their home kitchens.
Consider the aromatics. While buttermilk and salt are the foundation, infusing the brine with herbs like rosemary, thyme, or sage, along with crushed garlic cloves and peppercorns, adds subtle but complex flavor notes that permeate the meat.
Aromatics and Seasoning Secrets
When preparing your brine, remember to add your aromatics directly into the buttermilk mixture. This allows their flavors to infuse into the liquid before they even touch the chicken. After brining, rinsing, and thoroughly drying your bird, you can further enhance flavor by rubbing the outside with softened butter or olive oil. You can also gently loosen the skin over the breast and thighs to slather seasoned butter directly onto the meat, creating an extra layer of richness and flavor.
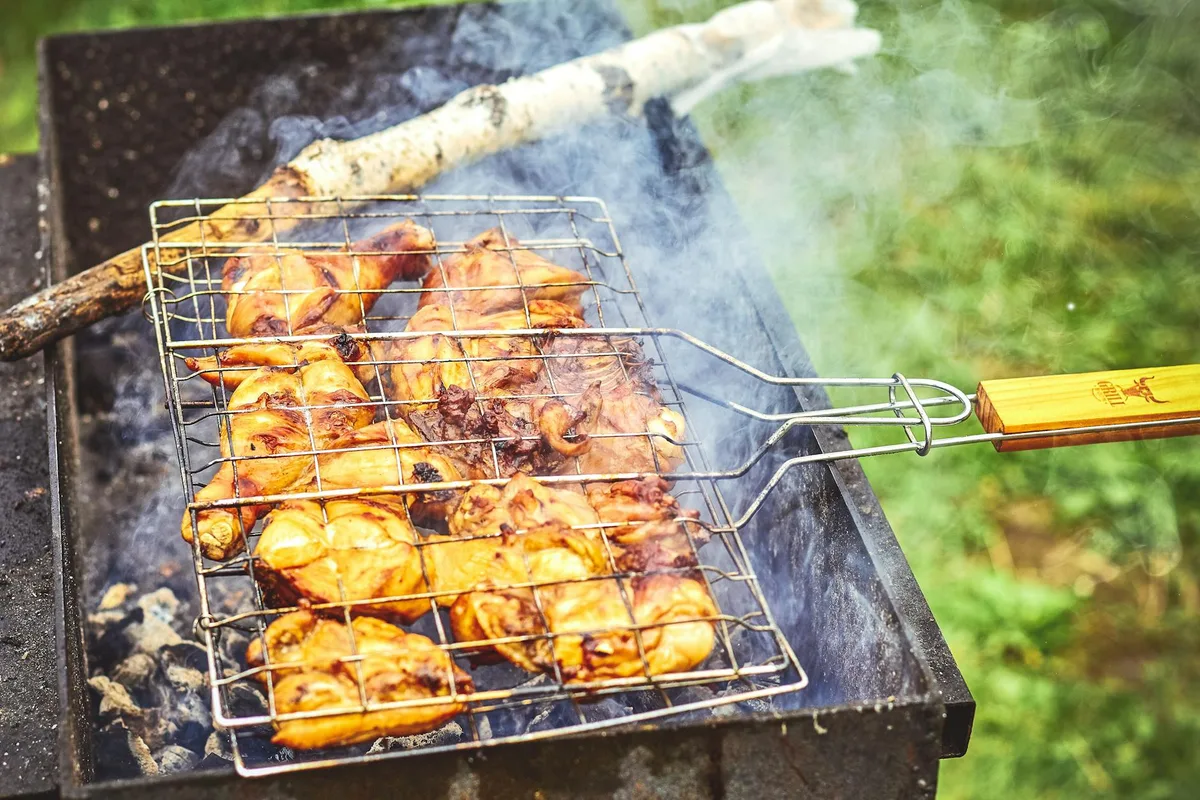
Achieving That Perfect Crispy Skin
The secret to incredibly crispy skin lies in two main factors: thorough drying and sufficient heat. After rinsing and patting exceptionally dry, ensure the chicken is exposed to air if possible. Some cooks will leave it uncovered in the refrigerator for a few hours after drying to let the skin air-dry further. Then, start your roasting at a higher temperature (like 425-450°F or 220-230°C) for the first 15-20 minutes to kickstart the crisping process, before reducing the heat to finish cooking.
Roasting Data You Need to Know
To consistently nail your buttermilk brined roast chicken, understanding the key temperature and time benchmarks is essential. These aren't just numbers; they are critical markers based on food science and safety standards that ensure both deliciousness and safety.
The goal is always to cook the chicken thoroughly while keeping it moist and tender. This means aiming for specific internal temperatures and understanding how those relate to overall cooking time, which can vary based on chicken size and oven calibration.
Ideal Roasting Temperatures and Times
A common approach for roast chicken is to start hot and then reduce the heat. For a 3-4 pound chicken, roasting at 450°F (230°C) for 15-20 minutes can help crisp the skin. Then, reduce the oven temperature to 375°F (190°C) to finish cooking. The total roasting time will typically be around 15-20 minutes per pound.
So, a 4-pound chicken might take roughly 60-80 minutes in total, excluding the initial blast of high heat.
The Critical Internal Temperature
As mentioned, the most important number for food safety and doneness is the internal temperature. For poultry, this must reach a minimum of 165°F (74°C) in the thickest part of the thigh. This temperature ensures that any harmful bacteria, such as Salmonella, are effectively neutralized. Always use an instant-read meat thermometer to verify this temperature in multiple spots if you're unsure.