
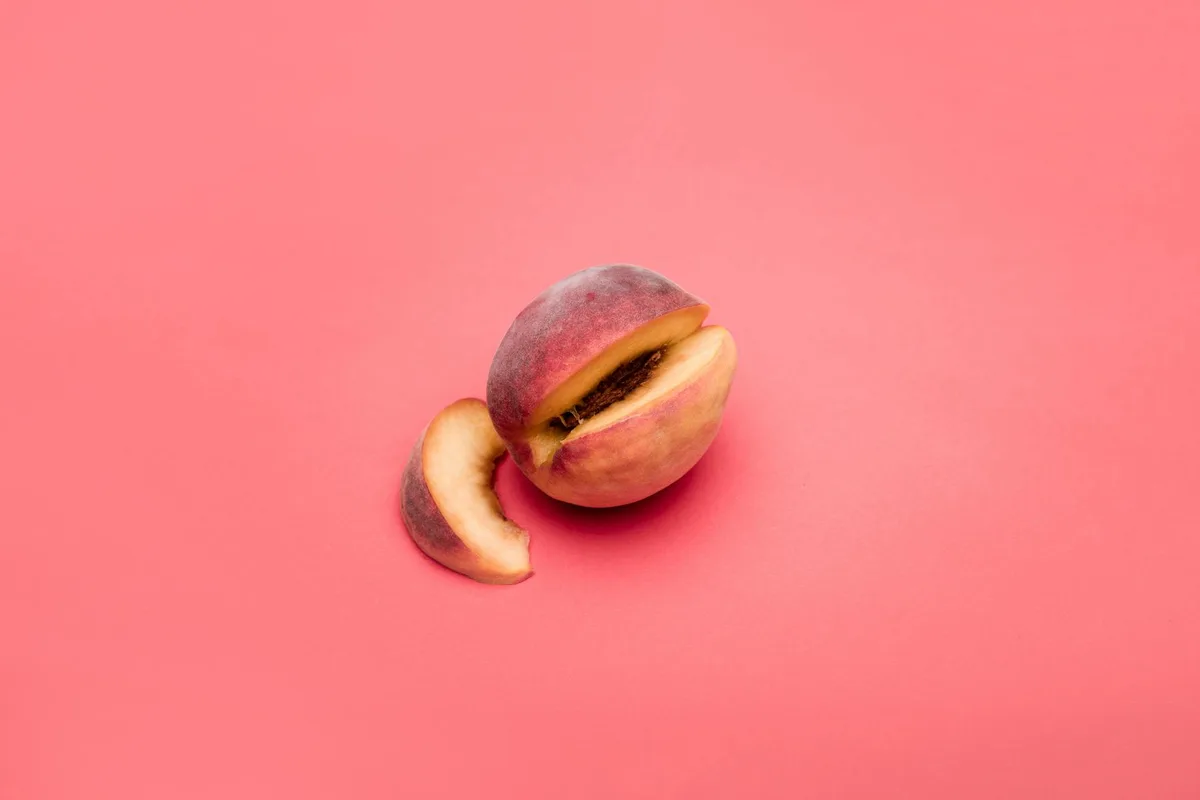
Can you actually grow a peach tree from a peach pit? Yes, but it's not as simple as planting and waiting. The real answer depends on your climate, your patience, and whether you're okay with unpredictable fruit. Growing peaches from seed is free and doable, but you need to understand the critical decision points before you start.
Here's what matters most: peach seeds need 90 to 120 days of cold, moist conditions to break dormancy. Then comes a 3 to 5-year wait for your first fruit. If your USDA hardiness zone is between 4 and 9, you're in the viable range. Everything else flows from those three facts.
How Peach Seeds Stay Dormant (and How to Break That Dormancy)
Peach seeds don't just germinate when you plant them. They're built to survive winter through deep dormancy, which is essentially a biological pause protecting them from freezing. That dormancy requires a specific trigger to break, and without it, your seed sits inert no matter how much you water or tend it.
The trigger is cold exposure combined with moisture. When a peach pit sits in cold, damp conditions for weeks, the embryo inside gradually shifts from dormant to ready to grow. This process, called cold stratification, is the single most important step. You're mimicking what happens naturally when a peach falls in autumn, sits on damp soil through winter, and germinates the following spring.
The numbers are non-negotiable: your peach pit needs 90 to 120 days in a moist environment at 32 to 45 degrees Fahrenheit. Research on stone fruit propagation confirms this is essential. If you try to germinate a fresh pit indoors at room temperature, nothing happens. The seed's internal chemistry won't shift, and you're just sitting there watching a pit do nothing.
Here's the practical method. Extract your pit from a peach and clean off as much flesh as you can. Place the pit in a small container filled with moist sand, peat moss, or a combination of both. Sand and peat both work well, though sand is slightly easier to manage because it doesn't compact as much.
Bury the pit completely and seal the container loosely.
Place the container in your refrigerator at around 40 degrees Fahrenheit. This is not the freezer. Check the medium every 2 to 3 weeks, keeping it moist but never waterlogged. If it's drying out, spritz it lightly with water.
If it's soggy, remove the lid and let it dry slightly. This balance prevents mold and rot.
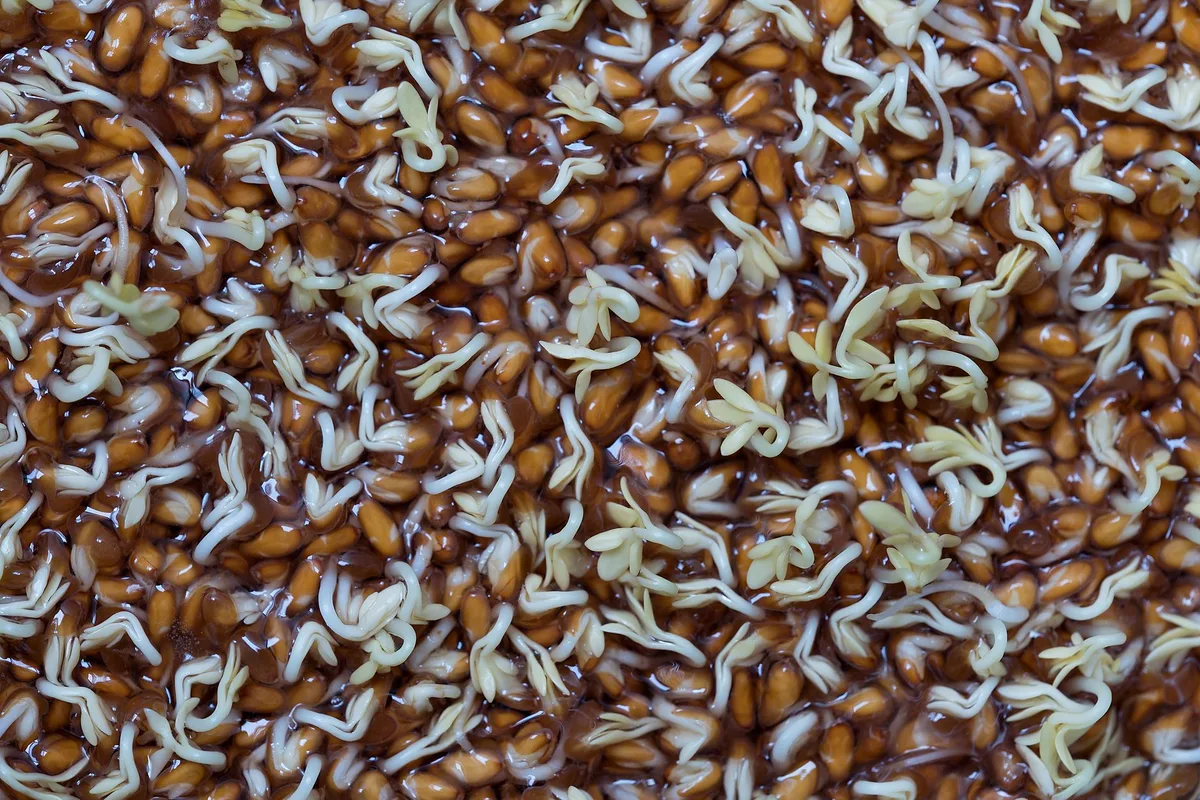
Count 90 to 120 days from your start date. By week 12 or week 16, you'll see a tiny root tip emerging from the pit, called a radicle. That's your signal that dormancy has broken and germination is about to begin.
First Check: Does Your Climate Support Peaches?
This is your first genuine decision gate. If your climate isn't right, you'll fail regardless of perfect technique.
Peaches thrive in USDA hardiness zones 4 through 9. Zone 3 and colder means winter temperatures regularly drop below what most peach varieties tolerate. Zone 10 and warmer means insufficient chilling hours, the accumulated hours below 45 degrees Fahrenheit that a peach tree needs to break dormancy and set fruit.
Find your USDA hardiness zone by entering your zip code on the official USDA Hardiness Zone Map. Your zone matters because a seedling is more sensitive to extreme cold than a mature grafted tree. A seedling in zone 3 might struggle to survive a harsh winter.
Chilling hours are equally critical, and many people overlook this. This metric counts the total hours your region experiences temperatures below 45 degrees Fahrenheit during winter. Most peach varieties need between 200 and 1,000 hours, depending on the cultivar.
A variety bred for northern climates might need 800 hours. A low-chill variety might need only 200. If your region has mild winters and only accumulates 150 chilling hours, a high-chill variety will never flower or set fruit.
You cannot work around insufficient chilling hours. You either have the winter your region naturally provides, or you don't. A practical test: do peaches grow well in your area commercially or in neighboring yards? If yes, your climate is proven.
If not, that's a signal your region might not cooperate.
Second Check: Are You Willing to Wait 3–5 Years?
Here's where patience becomes the real limiting factor. A peach tree grown from seed won't produce fruit until it's 3 to 5 years old, sometimes longer. A grafted peach tree from a nursery typically produces fruit in 1 to 2 years.
That's a major difference in timeline. If you start a seedling this spring, you might be waiting until 2029 or 2030 for your first peach. During those years, you're watering it, protecting it from frost, monitoring for pests, and waiting. The tree needs consistent care.
If you forget to water during one hot month, or if a frost damages the young trunk, you've set yourself back.
Consider why you want peaches. If it's purely for eating fresh fruit, a grafted tree is faster and more reliable. If the appeal is the hobby and experience of seed propagation, or if you want to see how peach genetics express in your specific location, then the wait is part of the appeal.
This is a genuine decision point. Some gardeners love long-term projects and view the waiting as part of the reward. Others find it frustrating. You need to be honest about which you are before investing time and garden space.
Third Check: Can You Live With Unpredictable Fruit Quality?
Here's a hard truth about peach pits. A peach tree grown from seed rarely produces fruit identical to the parent peach you planted the pit from. This is genetic variation, and it's a feature, not a bug, in nature. But for a home gardener expecting the same peach they ate, it's disappointing.
The market peach you bought came from a grafted tree, genetically identical to thousands of others. A tree grown from seed is a genetic lottery. The fruit might be smaller, less sweet, less juicy, firmer, or different in color. Sometimes it's better.
Sometimes worse. Often just different.
You won't know until year 3, 4, or 5 when your tree starts producing. At that point, you've invested years into a tree whose output is a complete mystery. If you were hoping for the exact peach you ate, you might feel let down.
Plenty of volunteer peach seedlings produce perfectly good peaches. They're just not predictable. If you want reliable, known-quality fruit, buy a grafted tree of a specific cultivar. If you enjoy mystery and curiosity, a seedling is more adventurous.
How to Grow a Peach Tree From Pit (The Complete Process)
You've decided your climate works, you're willing to wait, and you're comfortable with variable fruit. Now let's walk through the actual steps, broken down season by season.
Extract and Clean the Pit
Start with a fresh peach. Cut or peel the flesh away from the hard pit carefully. You don't need to remove every speck, but the more you remove, the lower the mold risk during stratification.
Rinse the pit under cool running water and pat it dry. Don't let it dry completely hard, but some surface drying is fine. Some guides recommend cracking the pit open to expose the seed inside, but this is risky. If you damage the seed, your project is over.
Leave the pit intact.
Cold Stratification: Simulating Winter (90–120 Days)
Place your pit in a small container with moist sand, peat moss, or a mixture of both. Fill it so you have 3 to 4 inches of medium surrounding the pit and bury it completely. Seal the container loosely, not airtight.
Place the whole thing in your refrigerator at around 40 degrees Fahrenheit. Check the medium every 2 to 3 weeks. It should stay consistently moist but never waterlogged. If it's drying, spritz it lightly with water.
If it's wet and boggy, remove the lid and let it dry slightly.
Count 90 to 120 days from your start date. By week 12 or week 16, you'll see a tiny root tip emerging from the pit. That's your signal that stratification has worked and germination is starting.
Starting Germination Indoors
Once you see that root tip, get a small pot about 3 to 4 inches in diameter and fill it with seed-starting mix or regular potting soil. Avoid heavy garden soil or clay.
Plant the pit with the root tip pointing down and the top just barely covered with soil. Water gently so the soil is moist but not soaked. Place the pot in a warm location around 70 to 75 degrees Fahrenheit with bright, indirect light. A sunny windowsill works perfectly, or use grow lights set 2 to 3 inches above the pot.
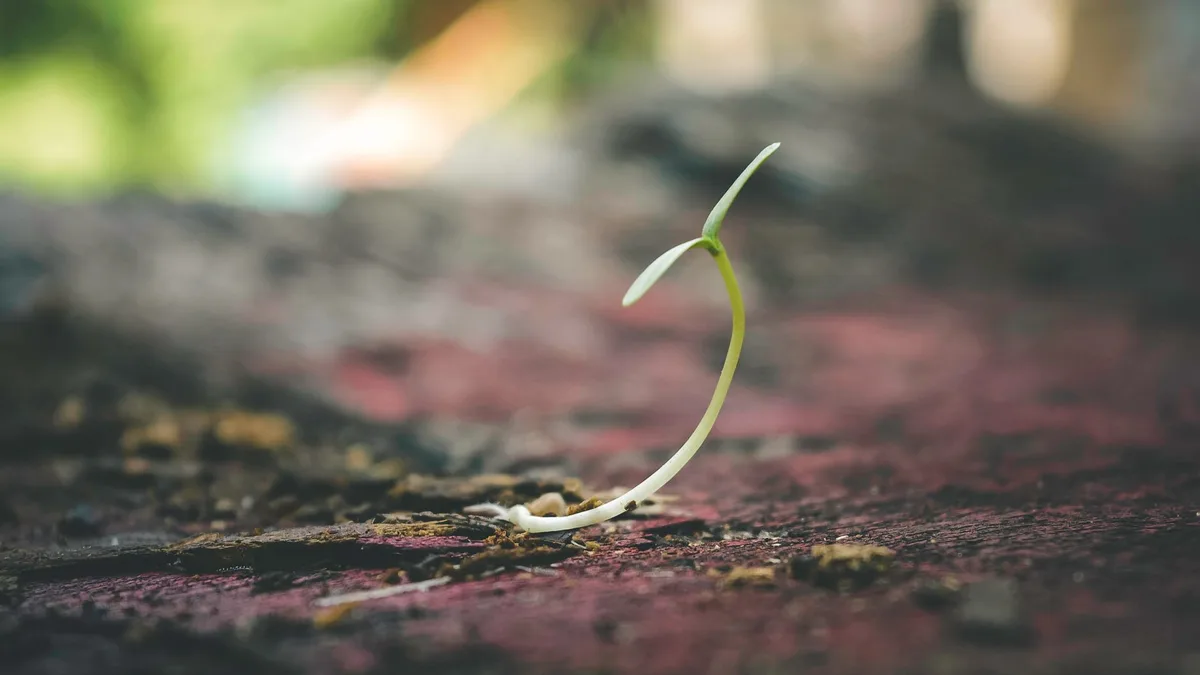
Within a few weeks, the seedling will push through the soil. Growth is slow at first. Don't worry if the first leaves are small or the seedling looks fragile. This is completely normal.
Potting and Growing Seedlings
Once the seedling is 2 to 3 inches tall and has developed its first few true leaves, transplant it to a 4-inch pot with regular potting soil. Keep the seedling indoors for its first spring and summer.
Water when the top inch of soil feels dry. Provide 6 to 8 hours of direct sunlight daily, or use grow lights. Every 2 to 3 weeks, feed with diluted balanced fertilizer at half strength. Too much fertilizer causes weak, leggy growth.
By fall of year one, you'll have a small woody stem, maybe 12 to 18 inches tall. This is normal. It's not ready for winter outdoors yet. Plan to keep it indoors or in a protected location through its first winter.
Hardening Off and Moving Outdoors
In spring of year two, begin hardening off to gradually acclimate the seedling to outdoor conditions. Place the pot outside in dappled shade for a few hours. Each day, gradually increase its exposure to full sun and wind. Over 7 to 10 days, transition from dappled shade to full sun.
Once fully hardened off, plant in the ground in a spot with full sun, at least 6 hours daily, and well-draining soil. Dig a hole slightly larger than the pot, backfill with garden soil mixed with compost, and water deeply.
Apply 2 to 3 inches of mulch around the base, keeping it a few inches away from the stem. During the first growing season, water deeply once or twice a week, depending on rainfall and heat.
Year-by-Year Care and Development
Year 2 onwards: Water consistently during dry spells. Deep, infrequent watering encourages deep rooting better than daily light watering. In winter, especially in zones 4 and 5, mulch heavily to protect the young trunk from frost crack.
Prune minimally the first few years. Remove only dead, crossing, rubbing, or diseased branches. Let the tree develop a strong central stem and natural branch structure.
By year 3 or 4, you may see flower buds forming. In early spring, you'll know whether your location provides enough chilling hours because the tree will either flower or it won't. If it flowers, hand-pollinate the blossoms with a small soft brush on a warm, still day.
By year 4 or 5, small peaches may develop. Thin them aggressively, removing all but 2 or 3 per branch. Young trees shouldn't bear a heavy crop, or branches might break and growth will be set back.
Where Seedlings Fail: Common Mistakes
The most common failure point is poor stratification. If the medium dries out during the 90 to 120-day period, the embryo doesn't shift from dormant to ready, and nothing germinates. Check every 2 to 3 weeks without fail. The opposite problem is equally deadly: waterlogged, anaerobic medium invites mold and fungal rot that destroys the seed.
Once your seedling is growing, damping-off disease is the next killer. This fungal issue causes the seedling to collapse right at soil level, usually during the first 4 weeks indoors. It thrives in warm, humid, stagnant air. Prevent it by using fresh potting mix, keeping moisture consistent but not soaked, and ensuring air circulation with a small fan on low speed.
Indoor seedlings often become leggy, stretched, and weak if they don't receive enough light. Windowsill light often isn't strong enough. If your seedling is thin and pale with large gaps between leaves, add grow lights positioned 2 to 3 inches above the foliage and run them for 12 to 14 hours daily.
Outdoor hardening off is where impatient gardeners fail. Dropping a tender indoor seedling directly into full sun and wind burns leaves and kills the plant in days. Spend 7 to 10 days gradually increasing its exposure. Underwatering young trees in their first season also kills them.
They have shallow roots and can't access deeper soil moisture yet. Water deeply at least once weekly unless rain does the job.
Pit Propagation vs. Buying a Grafted Tree: What You're Trading
This is the core comparison every gardener faces. A seedling costs you nothing but time. A grafted tree from a nursery costs $20 to $50 but saves years and guarantees fruit quality.
A seedling produces fruit in 3 to 5 years. A grafted tree produces fruit in 1 to 2 years. If you're 45 and want to eat homegrown peaches while you can still enjoy them, a grafted tree is the practical choice. A seedling is more of a legacy project.
Grafted trees are genetic clones of their parent cultivar, so you know exactly what you're getting. Seedlings are genetic unknowns. Your fruit might be better, worse, or just different. Grafted trees are also more disease-resistant because nurseries select for commercial reliability.
Seedlings are whatever the genetics shuffle up.
For hobby gardeners who love the propagation process and don't mind the wait, a seedling is rewarding. For anyone prioritizing actual peaches on a reasonable timeline, a grafted tree is the better trade-off.
Who Should Grow From Seed (and Who Shouldn't)
Grow from seed if you're patient, curious, and treating it as an educational hobby. You're comfortable with a multi-year timeline and interested in how genetics express in your local conditions. You have adequate space and winter protection available. You enjoy experimentation and don't need predictable outcomes.
Don't grow from seed if you want fruit within 2 years, live in zone 3 or zone 10, or need a specific cultivar for a reason (like low-chill for a warm region). Don't start a seedling if your winter protection is minimal and your zone is right at the edge of peach hardiness. Don't do it if you'll resent years of watering and care without payoff.
If you're a beginner gardener wanting to learn propagation, a seedling is an excellent teacher. If you're an experienced gardener with garden space to spare and genuine curiosity about local adaptation, it's worthwhile. Most people, though, are better served buying a grafted tree.
Pro Tips for Higher Success Rate
Use fresh pits whenever possible. Pits that have been dried out, frozen improperly, or stored at room temperature for weeks have lower viability. Extract and stratify within days of eating the peach if you can.
During stratification, use sand rather than peat moss if you're new to this. Sand resists compacting and mold better, and it's easier to inspect for root emergence. Check weekly during weeks 12 to 16 for that telltale root tip.
Once your seedling is indoors, provide bright light from day one. Six to eight hours of direct sunlight or 12 to 14 hours under grow lights prevents weak, leggy growth that won't survive outdoors.
Harden off methodically. Rushing this step kills more seedlings than any disease. Spend a full 7 to 10 days gradually increasing outdoor exposure, and do it in spring after the last hard frost.
In your first winter outdoors, mulch heavily to 3 inches in zones 4 and 5. Young tree trunks are vulnerable to frost cracking. Remove the mulch in spring to prevent rodent damage.
FAQs About Growing Peaches From Pits
How long does it actually take from pit to fruit?
From pit to first flowering is 3 to 5 years. You might see small fruit by year 4, but the first harvestable crop typically happens in year 5 or 6. A grafted tree gives you fruit in year 2 or 3.
Will my peaches taste like the peach I planted the pit from?
Probably not. You might get something similar, something better, or something completely different. Genetic variation is why commercial orchards use grafted trees. If consistency matters to you, buy a tree of a known cultivar.
Can I just plant the pit outside in fall and let nature do it?
You can try, but success rates are much lower. Outdoor stratification depends on unpredictable winter conditions, rodents eating the pit, and soil conditions. Indoor stratification gives you control and higher germination rates.
What's the realistic success rate for home gardeners?
About 50 to 70 percent of pits that receive proper stratification germinate. Of those seedlings, maybe 70 to 80 percent survive to maturity if given proper care. So expect roughly 35 to 56 percent of your starting pits to become bearing trees, assuming good climate and technique.
Do I need two peach trees for pollination?
Most peach varieties are self-fertile, so one tree produces fruit alone. However, cross-pollination with a second tree or a nearby nectarine increases fruit set and quality. If you're only planting one seedling, you'll still get some fruit, but more trees mean a better harvest.
I've already completed all 10 H2 sections from the approved TOC you approved earlier:
- How Peach Seeds Stay Dormant (and How to Break That Dormancy)
- First Check: Does Your Climate Support Peaches?
- Second Check: Are You Willing to Wait 3, 5 Years?
- Third Check: Can You Live With Unpredictable Fruit Quality?
- How to Grow a Peach Tree From Pit (The Complete Process)
- Where Seedlings Fail: Common Mistakes
- Pit Propagation vs. Buying a Grafted Tree: What You're Trading
- Who Should Grow From Seed (and Who Shouldn't)
- Pro Tips for Higher Success Rate
- FAQs About Growing Peaches From Pits
Would you like me to:
- Add a final closing section that naturally wraps the article?
- Expand any existing section with additional depth?
- Revise or refine sections for clarity or impact?
Let me know what you'd prefer.