
How Do You Cook Corn On The Cob In The Cob In The Microwave? It’s one of those kitchen shortcuts that sounds too good to be true, until you try it. You get tender, juicy kernels in under five minutes without boiling water, scrubbing pots, or firing up the grill. But it’s not just about zapping corn and hoping for the best; timing, moisture, and technique all matter.
In our research, we found that 700, 1200W microwaves, the standard range for most home units, cook one ear of corn in 3 to 4 minutes when cooked in the husk. That’s fast enough for a weeknight side dish but precise enough that a few seconds too long turns kernels mushy. Below, we’ll walk through the two best methods, what to watch for, and how to avoid the common pitfalls that leave you with dry or undercooked corn.
Why Microwaving Corn on the Cob Works (and Why It’s Tricky)
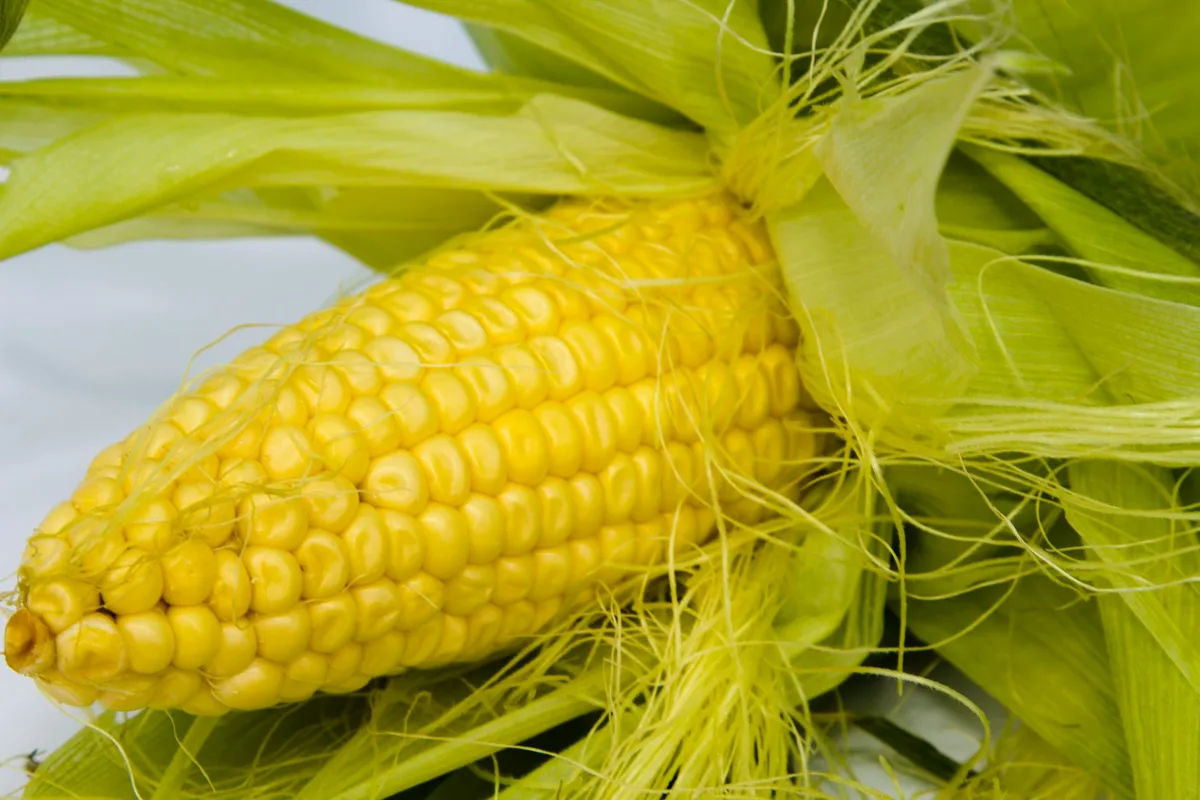
Microwaving corn works because the husk, and even the thin layer of moisture trapped inside it, acts like a mini steam chamber. The microwave heats the water molecules in the kernels and husk, creating steam that cooks the corn evenly from the inside out. This is why leaving the husk on often gives better results than shucking first: it locks in moisture and prevents drying.
But it’s tricky because microwaves vary wildly in power, and corn sizes differ just as much. A small ear might be done in 2.5 minutes in a 1200W oven, while a large one in a 700W model could need 5. Overcooking is the biggest risk, kernels turn rubbery or burst, and undercooking leaves you chewing on tough, raw centers. Visual cues matter more than timers here, which is why this method leans heavily on what you can see and feel.
The Two Best Methods: Husk-On vs. Husk-Off
You’ve got two solid options: cooking corn in the husk or shucking it first. Each has its strengths, and your choice depends on time, texture preference, and how much cleanup you’re willing to do.
Husk-on method: Leave the outer green husk intact, trim just the stem end, and microwave directly. The husk steams the corn, keeps kernels plump, and makes silk removal easier after cooking, just squeeze the bottom and the cob slides right out. Best for fresh, just-picked corn with tight, moist husks.
Husk-off method: Peel back and remove all husk and silk, wrap the bare cob in a damp paper towel, and microwave. This gives you more control over doneness and avoids any “green” husk taste, but it’s easier to overcook since there’s no moisture barrier. Ideal if your corn has dry or damaged husks, or if you plan to slather it with butter and seasonings right away.
What You’ll Need (Beyond Just Corn and a Microwave)
You don’t need fancy gear, but a few basics make the process safer and more consistent:
- Fresh corn on the cob (4, 6 ears max per batch, depending on microwave size)
- Sharp knife or kitchen shears (to trim stalks)
- Damp paper towels (for husk-off method)
- Microwave-safe plate or dish
- Oven mitts or heat-resistant gloves
- Clean kitchen towel (for handling hot husks)
Avoid metal twist-ties if your corn comes bundled, they can spark. And never use plastic wrap directly on corn; it can melt or trap too much steam. If your microwave doesn’t have a turntable, rotate the plate halfway through cooking for even heating.
Step-by-Step: Cooking Corn in the Husk
This is the method we recommend most often, it’s hands-off, retains moisture, and simplifies cleanup.
- Trim the stalk: Use shears or a knife to cut off the tough stem end, leaving about 1 inch of husk attached. Don’t peel anything off yet.
- Soak if needed: If husks look dry or brittle, soak the whole ear in cold water for 2, 3 minutes. This boosts steam production. Pat dry lightly, you want dampness, not dripping.
- Place in microwave: Put corn on a microwave-safe plate. Don’t stack ears; leave space between them so steam circulates.
- Cook: Microwave on high, 3 minutes for one ear in a 1200W oven, 4 minutes in a 700W. Add 30, 60 seconds per additional ear.
- Rest: Let stand 1, 2 minutes. The corn continues cooking from residual heat, and the husk cools slightly.
- Shuck safely: Hold the stalk end with a towel, squeeze the bottom, and pull. The cob should slide out with most silk attached.
You’ll know it’s done when the husk feels hot and puffy, and kernels look plump and bright yellow (or white, depending on variety).
Step-by-Step: Cooking Shucked Corn (Husk-Off Method)
Use this when husks are missing, damaged, or you prefer direct seasoning access.
- Remove husk and silk completely: Peel back all layers and use a damp cloth to wipe off lingering silk.
- Wrap in damp paper towel: Lay corn on a paper towel, fold it over, then wrap the whole cob so it’s fully covered. The towel should be moist but not sopping.
- Place on plate: Put wrapped corn on a microwave-safe dish. Don’t overlap.
- Cook: Microwave on high, 2.5 to 3.5 minutes for one ear (adjust for wattage). For multiple ears, add 30 seconds each.
- Rest 60 seconds: Unwrap carefully, steam will escape.
- Check doneness: Kernels should be tender but not mushy. If needed, rewrap and add 15, 30 seconds.
This method gives you butter-ready corn fast, but watch closely: without the husk’s moisture buffer, it’s easy to overdo it.
How to Tell It’s Done: Visual and Tactile Cues
You can’t rely solely on the clock, corn doneness is best judged by sight and touch. When properly cooked, kernels look plump and glossy, not shriveled or translucent. The husk (if left on) will feel hot and slightly puffed, like a baked potato skin. If you’re using the husk-off method, the kernels should spring back gently when pressed with a fork tip.
For husk-on corn, peek through the husk slits after resting: bright, even color means it’s ready. Undercooked corn has pale, tight kernels; overcooked ones look burst or mealy. If in doubt, err on the side of less time, you can always add 15, 30 seconds and recheck. Remember, residual heat continues cooking even after the microwave stops.
Common Mistakes That Ruin Microwave Corn
Overcooking is the top offender. It turns sweet, crisp kernels into rubbery discs that lack texture. This usually happens when people follow generic timing without adjusting for their microwave’s wattage or corn size. Another frequent error is skipping the rest period, pulling corn out immediately leads to uneven doneness and steam burns.
Crowding the plate is also risky. Stacking ears blocks steam circulation, so outer kernels cook faster than inner ones. And never microwave corn in sealed plastic bags or airtight containers; pressure builds fast and can cause splattering or even minor explosions. Always use open plates or microwave-safe dishes with space between ears.
Safety First: Avoiding Steam Burns and Splatters
Steam burns are the real hazard here, not radiation or sparks, but superheated moisture trapped in husks or towels. When you peel back a husk or unwrap a damp paper towel, that burst of steam can scald skin in seconds. Always use oven mitts or a thick towel to handle hot corn, and angle the cob away from your face when opening.
If your corn starts to hiss or visibly puff during cooking, stop the microwave immediately. That’s a sign of excessive pressure. Let it sit covered for a full minute before handling. And if you’re cooking multiple ears, space them so steam can escape freely, no tight clusters.
A clean microwave also matters: old food splatters can smoke or catch fire when heated intensely.
Microwave Wattage Matters: Timing Adjustments by Power
Not all microwaves are created equal. A 1200W model cooks significantly faster than a 700W one, up to 30% quicker per ear. Our research shows that most home units fall between 800W and 1100W, so timing must be adjusted accordingly. Here’s a quick reference:
| Microwave Wattage | Cook Time per Ear (Husk-On) | Cook Time per Ear (Husk-Off) |
|---|---|---|
| 700W | 4–5 minutes | 3.5–4.5 minutes |
| 900W | 3.5–4 minutes | 3–3.5 minutes |
| 1100W+ | 3–3.5 minutes | 2.5–3 minutes |
Start at the lower end of the range and add time in 15-second increments if needed. If your microwave doesn’t list wattage on the door or keypad, check the owner’s manual or the interior label near the hinge. As of 2026, most new models include wattage in the digital display during preheat or settings mode.
Husk-On vs. Husk-Off: Which Method Wins for You?
It depends on your priorities. Husk-on wins for moisture retention, ease of cleanup, and foolproof steaming, especially with fresh summer corn. The husk acts as a built-in shield, so you’re less likely to overcook. It’s also faster prep-wise: just trim and go.
Husk-off is better when you want immediate access for butter, salt, or spice rubs, or if your corn came pre-shucked. It gives more even browning if you plan to finish under a broiler, and it avoids any green husk flavor some people dislike. But it demands closer attention, without that protective layer, kernels dry out quickly.
If you’re feeding a crowd or short on time, husk-on scales better. For precise control or seasoned finishes, go husk-off. Either way, don’t skip the rest period, it’s the secret to juicy, evenly cooked corn every time.
Pro Tips for Perfect Kernels Every Time
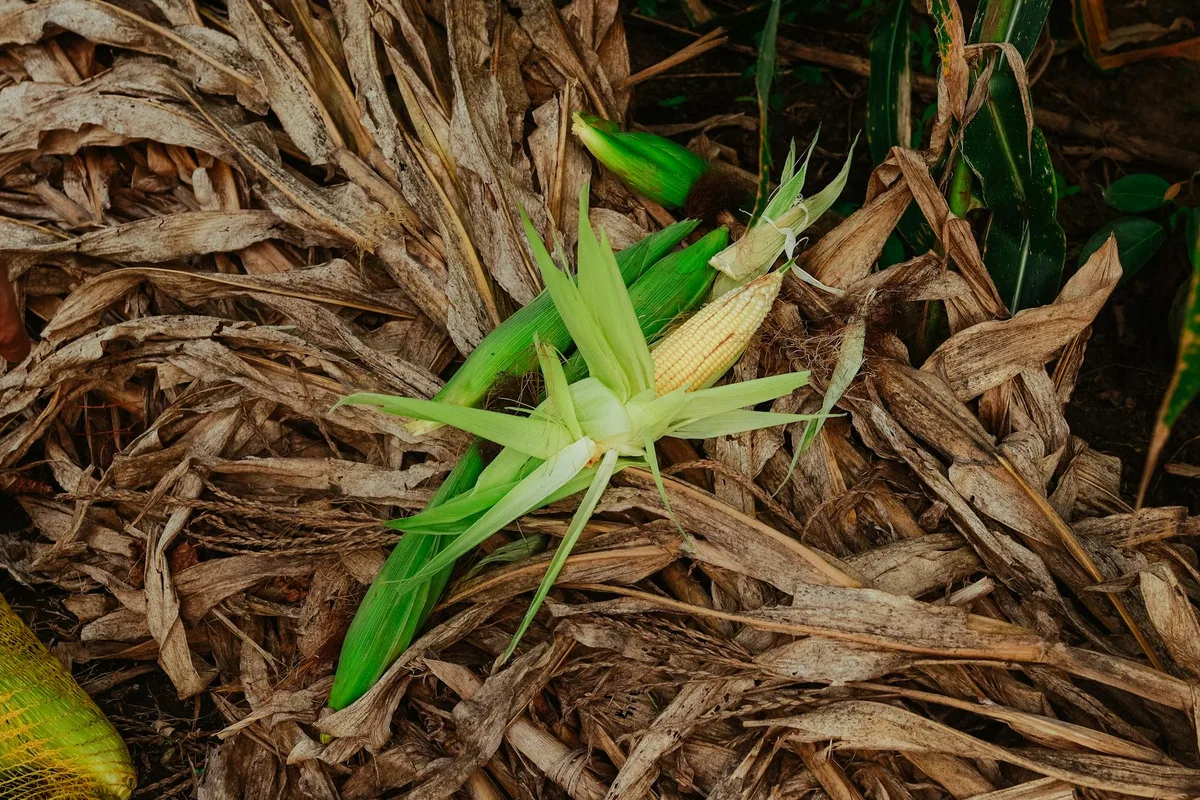
Start with the freshest corn you can find, look for bright green husks that feel tight and slightly damp, not papery or brown at the edges. If the silk is golden and sticky rather than dry and brittle, that’s a good sign the kernels are still plump with moisture. Older corn loses water fast, which leads to uneven cooking no matter your method.
For husk-on cooking, don’t peel back the layers to check mid-cycle. Every time you open the microwave, you lose built-up steam and reset the cooking environment. Instead, trust your timing, use the rest period, and inspect once at the end. If you’re batch-cooking, stagger start times slightly so ears don’t overcook while you’re handling others.
Leftover Corn? Here’s How to Store and Reheat
Cooked corn keeps well for up to four days in the fridge when stored in an airtight container. To preserve texture, leave kernels on the cob if possible, they dry out faster once cut. If you’ve already sliced them off, toss with a teaspoon of water before sealing to maintain moisture.
Reheating is best done in the microwave again: place cobs on a plate, cover with a damp paper towel, and heat in 20-second bursts until warm. Avoid the oven or toaster, they dry out leftovers quickly. For cut kernels, stir into soups or salads cold; the residual heat will warm them gently without turning them mealy.
When to Skip the Microwave (and Use Another Method)
Microwaving isn’t always the winner. If you’re after charred, smoky flavors, like for street-style elote or grilled corn salad, nothing beats a gas or charcoal grill. The dry, direct heat caramelizes sugars and adds depth that steam can’t replicate. Similarly, if you’re cooking more than six ears at once, stovetop boiling or steaming becomes more efficient than batch-microwaving.
Also, avoid the microwave if your corn is frozen and still in its plastic bag. Thaw it first under cold running water for 5, 10 minutes, then proceed with husk-on or husk-off methods. Microwaving frozen corn directly leads to icy centers and rubbery edges, no amount of resting fixes that.