
Deciding how long to cook a chuck roast in the oven might seem straightforward, but getting that perfect, fork-tender texture every time involves more than just setting a timer. We've analyzed cooking data and culinary best practices to break down the science behind achieving succulent, flavorful results consistently. Understanding the variables, from the cut itself to the oven's heat, is key.
This guide focuses on oven roasting, a method that locks in moisture and develops rich flavors, especially when done low and slow. When aiming for that melt-in-your-mouth experience, internal temperature is the most reliable indicator, with most experts citing a target range of 195-205°F. Prepare yourself to unlock the secrets to a perfectly cooked chuck roast, every single time.
Oven Roasting Chuck Roast: Timeline & Tips for Fork-Tender Results
When you're planning a meal around a chuck roast, the big question always pops up: "How long does it take?" Getting this right means the difference between a dry, disappointing meal and a tender, savory centerpiece. Our research indicates that oven roasting is a fantastic method for chuck, which is a tougher cut of beef that truly benefits from slow, moist heat.
This cut, known for its good marbling, can become incredibly tender and flavorful when cooked properly. It's not about rushing the process; it's about patience and understanding what's happening inside the roast. We’ll cover the typical timelines, but more importantly, we’ll show you the visual and temperature cues that tell you it's ready. As of 2026, these principles remain the gold standard for home cooks.
Why Chuck Roast Needs Time and Care
Chuck roast comes from the shoulder area of the cow, a well-worked muscle. This means it's naturally tougher and contains a lot of connective tissue, like collagen. While this might sound like a drawback, it's actually the secret ingredient for amazing flavor and texture when cooked correctly. When you apply low, slow heat over several hours, that tough collagen breaks down into gelatin.
This gelatin is what gives slow-cooked meats their luscious, melt-in-your-mouth quality and moist mouthfeel. If you try to cook a chuck roast quickly, like a lean steak, you'll end up with a chewy, tough piece of meat because the connective tissues haven't had enough time to render down. That's why understanding the cooking time isn't just about speed; it's about transforming the meat's structure.
Understanding Your Chuck Roast: Cut and Marbling Matter
Not all chuck roasts are created equal, and understanding what to look for can significantly impact your cooking success. The chuck primal cut is a large section, and different roasts come from slightly different areas within it. You might see names like chuck bảy, chuck eye roast, or cross-rib roast.
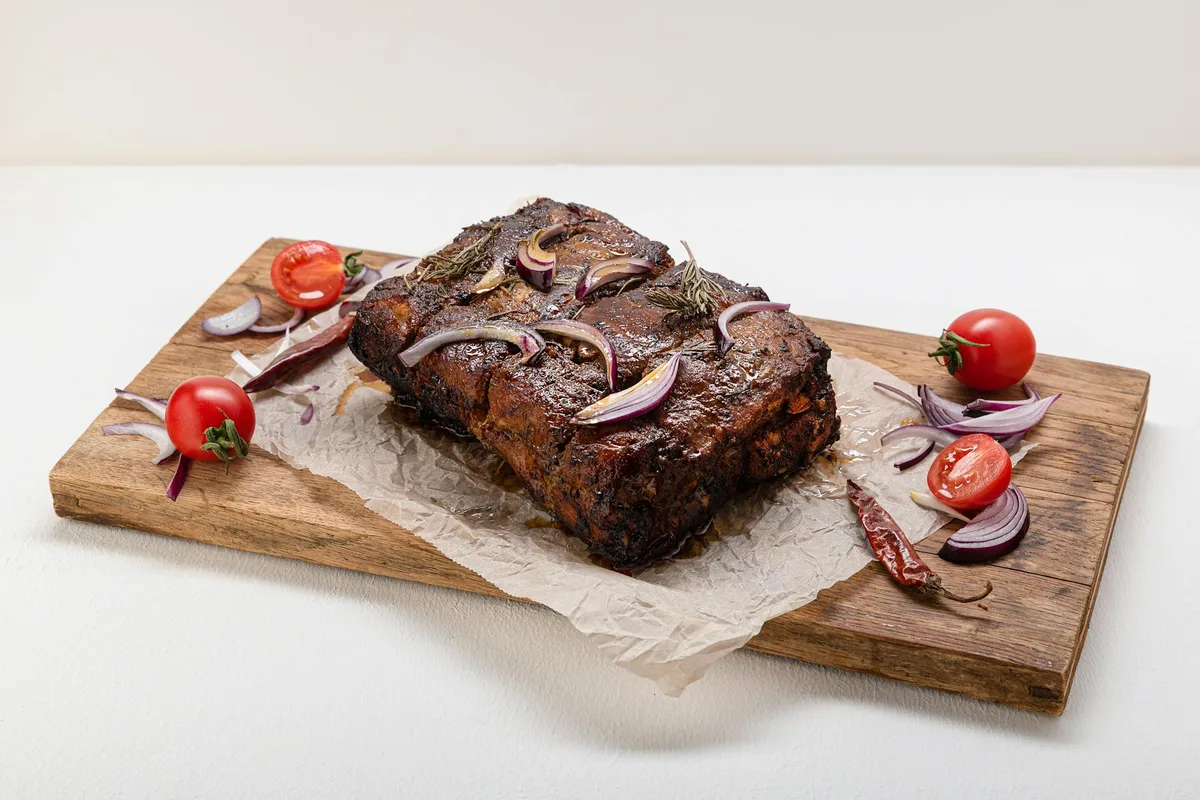
Beyond the specific name, pay close attention to the marbling, those little flecks of fat distributed throughout the lean muscle. A well-marbled chuck roast will yield a more flavorful and moist finished product because that fat melts during cooking, basting the meat from the inside. Bone-in chuck roasts also tend to stay moister and can offer a bit more flavor from the bones, though boneless are often easier to carve. Generally, a roast that's at least 2 inches thick is ideal for even cooking in the oven.
How Long Does a Chuck Roast Really Take in the Oven?
This is the million-dollar question, and the honest answer is: it depends. While general guidelines exist, they're just that, guidelines. Oven temperatures fluctuate, roasts vary in thickness and initial temperature, and even your oven's calibration can play a role.
The Golden Rule: Temperature Over Time
Forget rigid recipes that state "cook for X hours." For any cut of beef where tenderness is the goal, especially something like a chuck roast, internal temperature is your ultimate guide. Our research consistently shows that targeting an internal temperature of 195°F to 205°F (90.5°C to 96°C) is what truly guarantees that fork-tender, fall-apart texture. Anything less, and you risk a tougher result.
Estimating Time Per Pound on Average
For planning purposes, a very rough estimate for oven-roasted chuck roast at a low temperature (around 300-325°F) is about 45-60 minutes per pound. So, a 3-pound roast might take anywhere from 2.25 to 3 hours. However, this is highly variable. A thicker roast might take longer to heat through than a thinner one of the same weight.
Always, always rely on your thermometer.
Factors That Change Cooking Time
- Thickness of the Roast: A thicker roast needs more time for heat to penetrate to the center.
- Starting Temperature: A roast straight from a cold refrigerator will take longer than one that's been sitting at room temperature for an hour.
- Oven Accuracy: Not all ovens are calibrated the same. Yours might run hotter or cooler than the dial indicates.
- Bone-in vs. Boneless: Bone-in roasts can sometimes cook slightly faster due to heat conduction from the bone, or slower if the bone significantly impacts heat flow.
- Marbling: While not directly affecting time, more marbling can allow a roast to stay moist even if cooked a little longer.
Getting Started: Prep Work for a Perfect Roast
Before your chuck roast even meets the oven, taking a few moments for proper preparation will set you up for a much more satisfying final dish. It’s about building flavor layers from the ground up, ensuring every part of the roast is delicious, not just the center. This foundational work is what separates a good roast from a great one.
Seasoning Your Roast for Flavor
Chuck roast has a robust beefy flavor that stands up well to strong seasonings. Don't be shy! A good starting point is a generous application of kosher salt and freshly cracked black pepper. You can also introduce other aromatics like garlic powder, onion powder, paprika, or your favorite dried herbs such as rosemary, thyme, or oregano.
For a more complex flavor profile, consider a dry rub that includes brown sugar for a bit of caramelization. Make sure to coat all sides of the roast evenly.
The Sear: Building That Flavor Foundation
Searing the roast in a hot pan before it goes into the oven is a critical step for developing deep flavor. This process, known as the Maillard reaction, creates a delicious brown crust on the exterior of the meat. Use a heavy-bottomed oven-safe pot or Dutch oven if you have one, or a separate large skillet. Heat a tablespoon or two of high-smoke-point oil (like canola, grapeseed, or avocado oil) over medium-high heat until it shimmers.
Carefully place the seasoned roast in the hot pan and sear each side for 2-4 minutes, until a deep brown crust forms. Don't overcrowd the pan; sear in batches if necessary.
Preparing for the Slow Cook
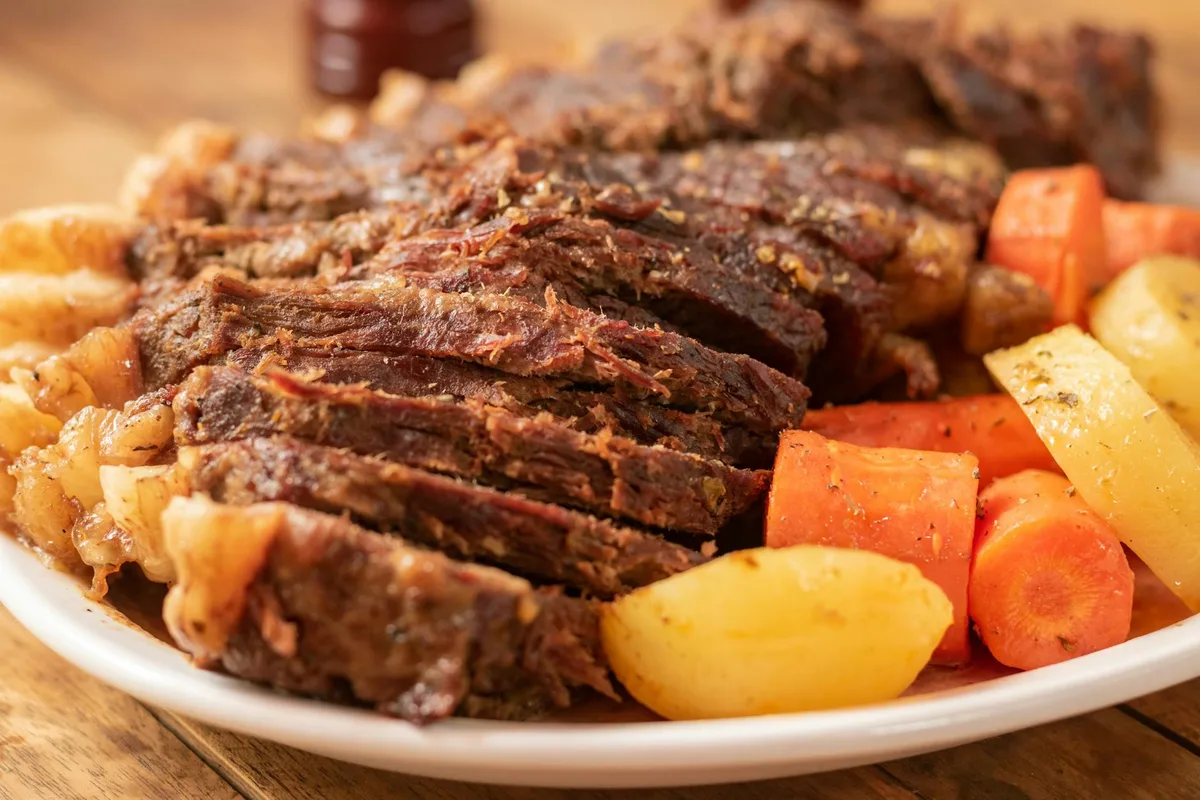
Once seared, you'll likely be adding liquids and aromatics to your pot. This combination of liquid and gentle heat helps to braise the meat, keeping it moist and tender as it cooks. Common additions include beef broth, red wine, diced onions, carrots, celery, and garlic cloves. These vegetables will not only add flavor to the roast but will also create a delicious gravy or sauce as they soften and break down.
Ensure your pot is large enough to hold the roast comfortably with the added liquid.
The Oven Roasting Process: Step-by-Step
Once your chuck roast is prepped and seared, it’s time for the patient art of oven roasting. The goal here is to maintain a consistent, relatively low temperature to encourage the breakdown of tough connective tissues into tender gelatin. This slow transformation is what gives the dish its characteristic richness and moisture.
Oven Temperature Sweet Spots
We’ve found that most successful chuck roasts emerge from ovens set between 300°F and 350°F (149°C to 177°C). A slightly lower temperature, like 300°F, will require more time but offers a greater margin of error for preventing dryness. If you're confident in your oven's accuracy and want to speed things up slightly, 350°F can work, but you’ll need to monitor the internal temperature more closely. Whatever temperature you choose, aim for consistency.
Bringing it to Temperature: What to Look For
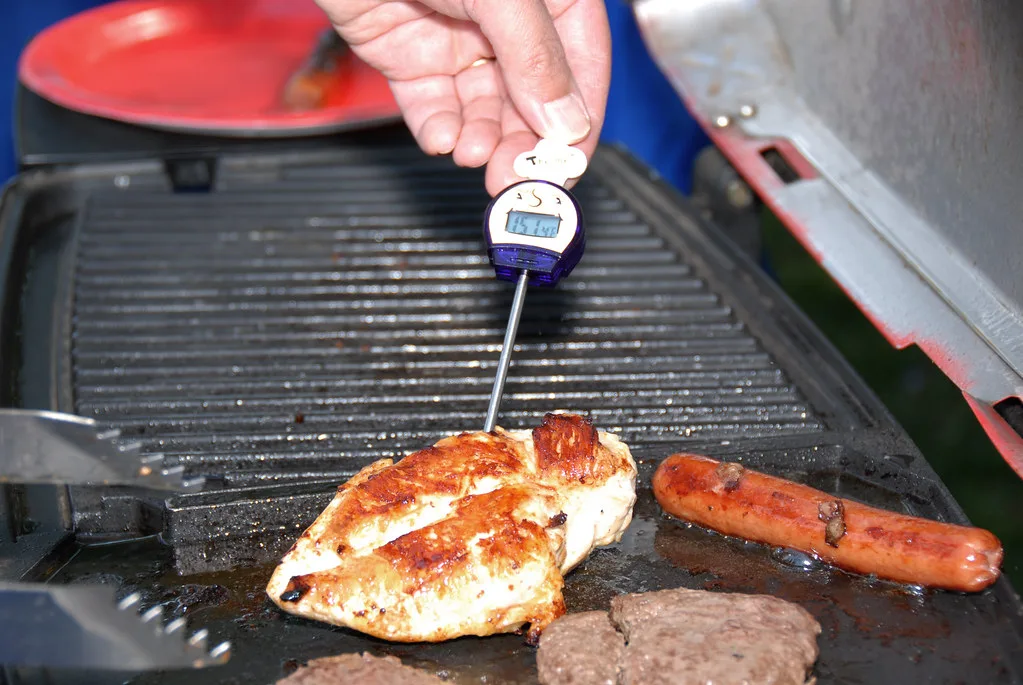
The real magic happens when you test for doneness. Instead of guessing or relying solely on time, a reliable instant-read meat thermometer is your best friend. Insert the thermometer probe into the thickest part of the roast, avoiding any large pockets of fat or bone. You’re looking for an internal temperature reading between 195°F and 205°F (90.5°C to 96°C).
At these temperatures, the collagen has broken down sufficiently, and the muscle fibers will begin to separate easily.
Knowing When It's Done: The Fork-Tender Test
While the thermometer is the most precise tool, a visual cue often confirms doneness: the fork-tender test. When the roast reaches that target temperature range, try gently probing it with a fork. If the fork slides in and out with very little resistance, and the meat easily pulls apart, you've achieved true fork-tender perfection. If you encounter significant resistance, it needs more time to cook.
Don't be afraid to give it another 15-30 minutes and re-test.
Common Chuck Roast Roadblocks and How to Fix Them
Even with the best intentions, sometimes a chuck roast doesn't turn out quite as planned. These common issues usually stem from a few key points that can be easily addressed with a little know-how. Understanding these pitfalls beforehand will save you from potential disappointment.
Battling Dry or Tough Meat
The most frequent complaints about chuck roast are that it turns out dry or tough. This almost always happens when the roast is removed from the oven too early, before the connective tissue has had sufficient time to break down. Another cause is cooking the roast at too high a temperature for too long, which can dry out the lean muscle fibers before the fat can render effectively.
If your roast is slightly tough, it might benefit from an extra 30-60 minutes in the oven at a low temperature (around 275°F/135°C). If it's dry, sometimes adding a bit more liquid to the pot and letting it gently simmer on the stovetop can rehydrate it somewhat, though this is a partial fix. Always prioritize reaching that 195°F-205°F internal temperature.
Dealing with Uneven Cooking
Sometimes, only one side of the roast might be perfectly tender, while another section remains tougher. This can happen if your oven has hot spots, or if the roast itself has a very uneven thickness or dense areas. You can mitigate this by rotating the roast in the pan every 30-45 minutes during cooking. If using a convection setting, be aware that it can sometimes cook unevenly, so more frequent rotation might be necessary.
Ensure your roasting pan or Dutch oven isn’t overcrowded with vegetables, which can block heat circulation around the roast.
What If It's Undercooked?
If you pull your roast out and it's clearly not reaching the target temperature, don't panic. It simply means your initial time estimate was off, or one of the earlier factors (like thickness or starting temperature) played a larger role. Just put it back in the oven. You can tent it loosely with foil if you're concerned about the top drying out, but for braising roasts, the liquid in the pan usually provides enough moisture.
Keep cooking and checking the temperature every 20-30 minutes until you hit that 195°F-205°F sweet spot.
Beyond the Basics: Expert Tips for the Best Chuck Roast
To elevate your chuck roast from good to absolutely fantastic, there are a few pro tips that seasoned cooks rely on. These aren't strictly necessary for a decent meal, but they really make a difference in flavor, texture, and presentation. They leverage the science of cooking a tougher cut effectively.
- Brining: For an extra layer of moisture and flavor insurance, consider dry-brining the roast. This involves generously salting it (about 1 teaspoon of kosher salt per pound of meat) and letting it rest uncovered in the refrigerator on a wire rack set inside a baking sheet for at least 4 hours, or preferably overnight. The salt helps to break down proteins and retain moisture.
- Don't Fear the Fat: While marbling is good, sometimes a roast has a thick cap of fat on one side. Instead of trimming it all off, leave about 1/4-inch. This layer of fat will melt and baste the meat as it cooks, contributing significantly to its final tenderness and flavor.
- Low and Slow is Key: As we've discussed, patience is paramount. Resist the urge to crank up the oven temperature to speed things along. The lower, slower heat is what allows the collagen to do its job. Think of it as a long, gentle hug for the meat.
- Braise in Liquid: While simply roasting is an option, braising in a flavorful liquid (like beef broth, red wine, or even a combination) provides added moisture and creates a delicious sauce or gravy. Ensure the liquid comes about halfway up the side of the roast.
Resting is Crucial: Don't Skip This Step
Once your chuck roast has reached that magical 195°F-205°F internal temperature and passes the fork-tender test, the job isn’t quite finished. The absolute most critical step following cooking is allowing the roast to rest. This isn't just a suggestion; it's a fundamental rule of cooking any large cut of meat.
When meat cooks, the muscle fibers contract and push moisture towards the center. If you slice into it immediately, all that delicious juice will run out onto your cutting board, leaving you with a dry roast. Resting allows those juices to redistribute back throughout the meat. Tent the roast loosely with foil and let it sit for at least 15-20 minutes for a smaller roast, or up to 30 minutes for a larger one.
This resting period allows the internal temperature to slightly rise further and ensures maximum juiciness when sliced.