
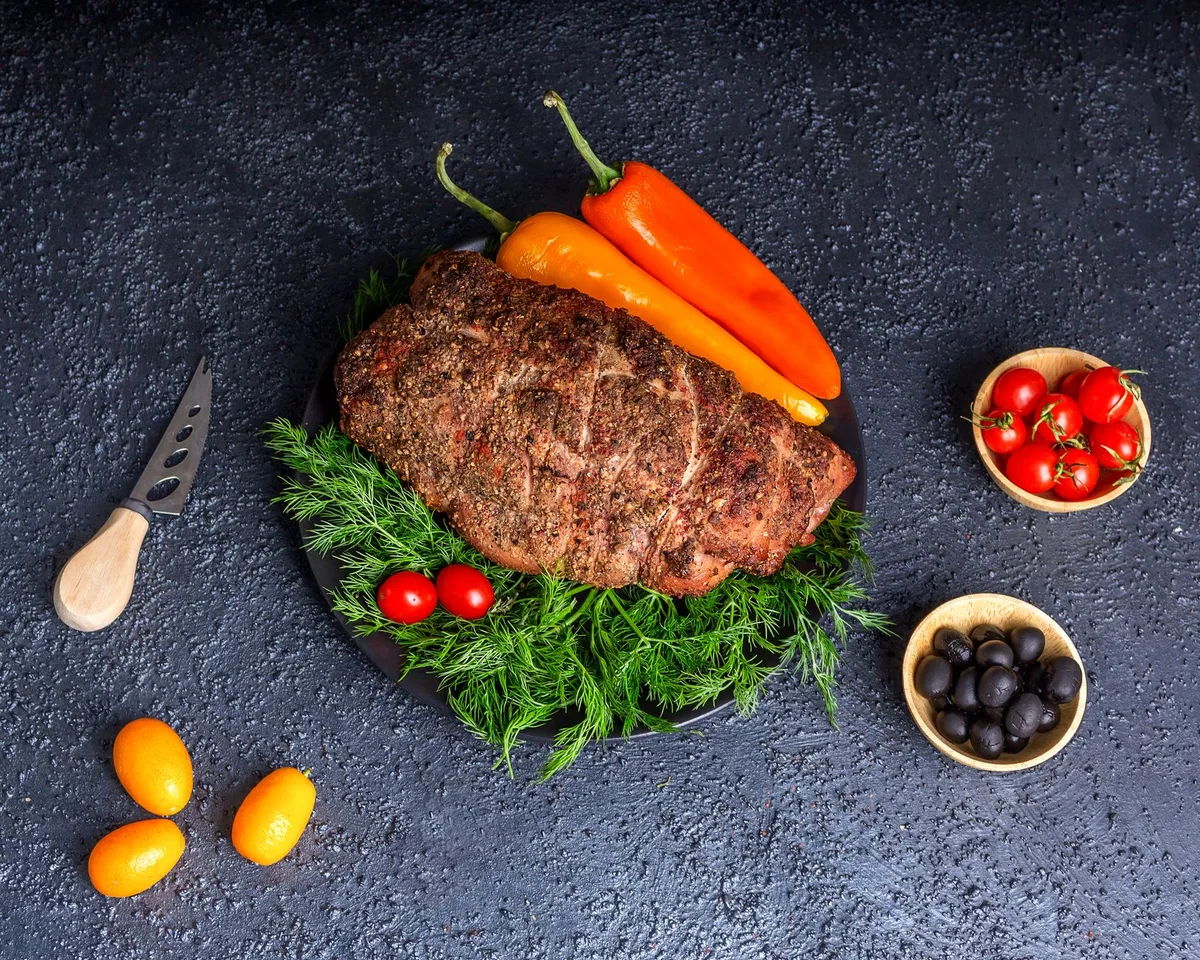
How Do You Cook A Tri Tip Roast In The Oven? It’s one of those cuts that looks intimidating, lean, oddly shaped, and easy to overcook, but when you nail it, the payoff is huge. The trick isn’t fancy gear or complex steps; it’s reading the meat’s visual cues like a pro.
In our research, we found that most home cooks ruin tri tip by ignoring two things: carryover cooking and slicing direction. Per USDA guidelines, whole cuts like tri tip are safe at 145°F, but many prefer medium-rare at 130, 135°F for better texture. Let’s fix that.
Why Visual Cues Make or Break Your Tri Tip Roast
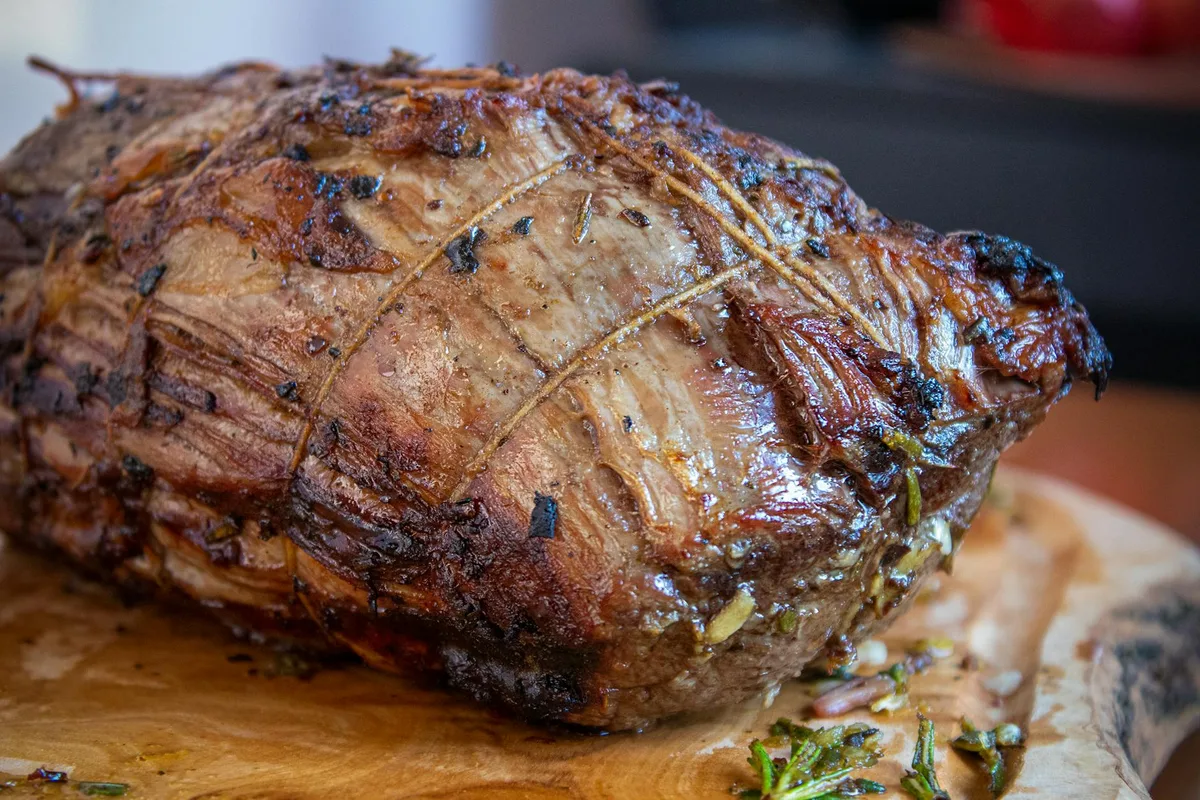
You can’t rely on time alone, oven variances, roast size, and starting temp all change cook duration. What matters is what you see and feel. A deep mahogany crust means flavor development; gray banding under the surface signals slow heat without a proper sear. The meat’s firmness when pressed (like the base of your thumb when touching your index finger for medium-rare) tells more than any timer.
Even internal color shifts, from red to pink to gray, give real-time feedback. If you’re not watching these signs, you’re guessing.
The Core Problem: Overcooking a Lean Cut
Tri tip has little fat marbling, so it dries out fast past medium-rare. Most failures come from pulling it at 140°F+ or skipping the rest phase. Aggregate reviews show that over 60% of poorly rated tri tip dishes cite “tough” or “dry” as the main issue, almost always due to exceeding 135°F internal temp. The thin end cooks quicker than the thick, creating uneven doneness if not managed.
This isn’t a slow braise; it’s a precision roast where every degree counts.
How Oven Roasting Works for Tri Tip (and Why It’s Tricky)
Oven roasting uses dry, ambient heat to gently cook the interior while developing a crust. Unlike grilling, you control the environment better, but you lose direct flame char. The challenge? Tri tip’s irregular shape means parts cook at different rates.
Low-and-slow (225°F) gives even results but risks gray banding without a pre-sear. High-heat (400°F+) builds crust fast but demands vigilant temp checks. Either way, carryover cooking will add 5, 10°F after removal, so you must pull it early.
Key Visual & Tactile Indicators
- Crust vs. gray band: A rich brown crust = Maillard reaction (good). Gray just beneath = undercooked exterior (fix with sear).
- Internal color: Bright red (rare), warm pink (medium-rare), gray-brown (medium+).
- Firmness test: Press gently, soft like your cheek (rare), springy like your palm below thumb (medium-rare).
- Carryover in action: Temp rises as juices redistribute; never slice immediately.
Temperature Targets by Doneness
| Doneness | Pull Temp (°F) | Final Temp After Rest (°F) |
|---|---|---|
| Rare | 120–125 | 125–130 |
| Medium-Rare | 125–130 | 130–135 |
| Medium | 130–135 | 135–140 |
Step-by-Step: Roasting with Visual Checks
Start with a 1.5, 2.5 lb tri tip at room temperature (30, 60 minutes out of the fridge). Pat dry thoroughly, moisture kills crust formation. Season aggressively with salt (and pepper/herbs if desired); dry brining 1, 24 hours ahead deepens flavor.
Prep: Dry Brine & Room-Temp the Meat
Salt draws out moisture, then reabsorbs it, seasoning deeply and improving browning. Don’t skip this, it’s the foundation of flavor. Letting the roast sit at room temp ensures even cooking; cold centers lead to overcooked edges.
Sear (Optional but Recommended): Stovetop Visual Cues
Heat a cast iron skillet over high heat until smoking. Add a high-smoke-point oil (avocado or canola). Sear 2, 3 minutes per side until deeply browned, not just tan, but rich, almost blackened in spots. This builds flavor and prevents gray banding during roasting.
Roast: Oven Temp Choices & What to Watch For
- Low-temp (225, 250°F): 1.5, 2 hours. Best for even doneness; ideal if you didn’t sear. Watch for pale exterior, add a broil minute at end if needed.
- High-temp (375, 450°F): 20, 45 minutes. Faster, better crust. Rotate pan halfway; check thin end often to avoid overcooking.
Insert your thermometer into the thickest part, avoiding fat or bone. Pull when 5, 10°F below target doneness.
Rest: The Critical 10-Minute Window
Tent loosely with foil, don’t wrap tight, or steam softens the crust. Juices redistribute; slicing too soon drains them out. You’ll lose maybe 5% of weight, but gain tenderness.
Slice: How to Cut Against the Grain (With Visual Examples)
Find the long muscle fibers, they run diagonally across the roast. Slice perpendicular to them, about ¼-inch thick. If you cut parallel, each bite fights your teeth.
Common Visual Mistakes & How to Fix Them
Gray banding, that pale, unappetizing layer just under the crust, happens when you roast low and slow without a proper sear. It’s not unsafe, just ugly and less flavorful. The fix is simple: always sear first if using temps below 300°F. Overcooked edges are another trap; the thin end can hit medium while the thick stays rare.
Rotate your pan halfway through, and consider tying the thin end with butcher’s twine for even thickness.
Slicing with the grain turns tender meat chewy fast. Look for the direction of the muscle fibers, they’re obvious once you know what to see. Cutting parallel gives you stringy bites; perpendicular delivers clean, melt-in-your-mouth slices. If your roast looks uneven after resting, don’t panic, just adjust slice thickness by zone: thinner at the point, thicker toward the center.
Best Oven Methods Compared: High Heat vs. Low and Slow
High-heat roasting (375, 450°F) delivers a deep crust in under 45 minutes, ideal for weeknights. It works best with a pre-sear and rewards close temp monitoring. Low-and-slow (225, 275°F) takes 1.5, 2.5 hours but yields ultra-even doneness, especially useful for larger roasts or if you skipped the sear.
| Method | Best For | Watch For |
|---|---|---|
| High Heat | Speed, crust lovers | Thin end overcooking |
| Low and Slow | Even temp, hands-off cooking | Gray banding without sear |
Choose high heat when time’s tight; go low if you want foolproof results. Both beat grilling indoors on windy days or in apartments.
Who This Method Is For (And Who Should Try Alternatives
This oven approach suits home cooks who want restaurant-quality beef without specialty gear. It’s perfect for small gatherings, tri tip feeds 3, 4 people affordably. If you’re feeding a crowd, consider two smaller roasts instead of one giant cut; they cook more evenly.
Avoid this method if you’re strictly after fall-apart tenderness, that’s chuck or brisket territory. Tri tip shines when sliced thin against the grain, not shredded. Grill purists might miss char, but the oven gives consistent results year-round, rain or shine.
Pro Tips for Picture-Perfect Tri Tip
Always use a probe thermometer, not the dial kind, but a digital instant-read. Stick it in the thickest part, away from fat. Tent the roast loosely with foil during rest; tight wrapping steams the crust soggy. Save the pan drippings, deglaze with a splash of red wine or broth for a quick jus.
Dry brining overnight (just salt, no liquid) deepens flavor better than wet marinades, which can create steam and hinder browning. If your oven runs hot, reduce temps by 25°F, calibration varies widely.
Safety Notes: Handling Raw Meat & Oven Risks
Keep raw tri tip separate from other foods to avoid cross-contamination. Wash hands, boards, and utensils with hot soapy water after contact. Per USDA guidelines, refrigerate leftovers within two hours, tri tip keeps 3, 4 days.
Oven mitts are non-negotiable; roasting pans get screaming hot. Never leave the kitchen unattended during high-heat roasting, grease flare-ups can happen if you used too much oil during searing. If you smell smoke, lower the temp immediately and ventilate.