
Do you find yourself staring at your tater tot casserole in the oven, wondering if the lid should be on or off? It's a common question that can mean the difference between a soggy mess and a golden-brown masterpiece. Our research indicates that the decision hinges on your desired outcome for that beloved crispy topping.

When baking, capturing steam can help ensure the filling cooks through evenly, a process that typically takes around 30-45 minutes at 375°F (190°C), depending on oven calibration. However, trapping too much steam can prevent those delicious tater tots from achieving their signature crunch. Let's break down how to get it just right.
Quick Answer: It Depends on Your Crispy Goals
The short answer to whether you should cover your tater tot casserole is: it depends on what kind of texture you're aiming for. If you live for the crunch of perfectly baked tater tots, you'll want to leave it uncovered for most, if not all, of the baking time. On the other hand, if your priority is a deeply heated, gooey filling and a softer topping, covering it for a portion of the bake is your best bet.
Why Covering Matters: Texture Control
The Crispy Tot Dilemma
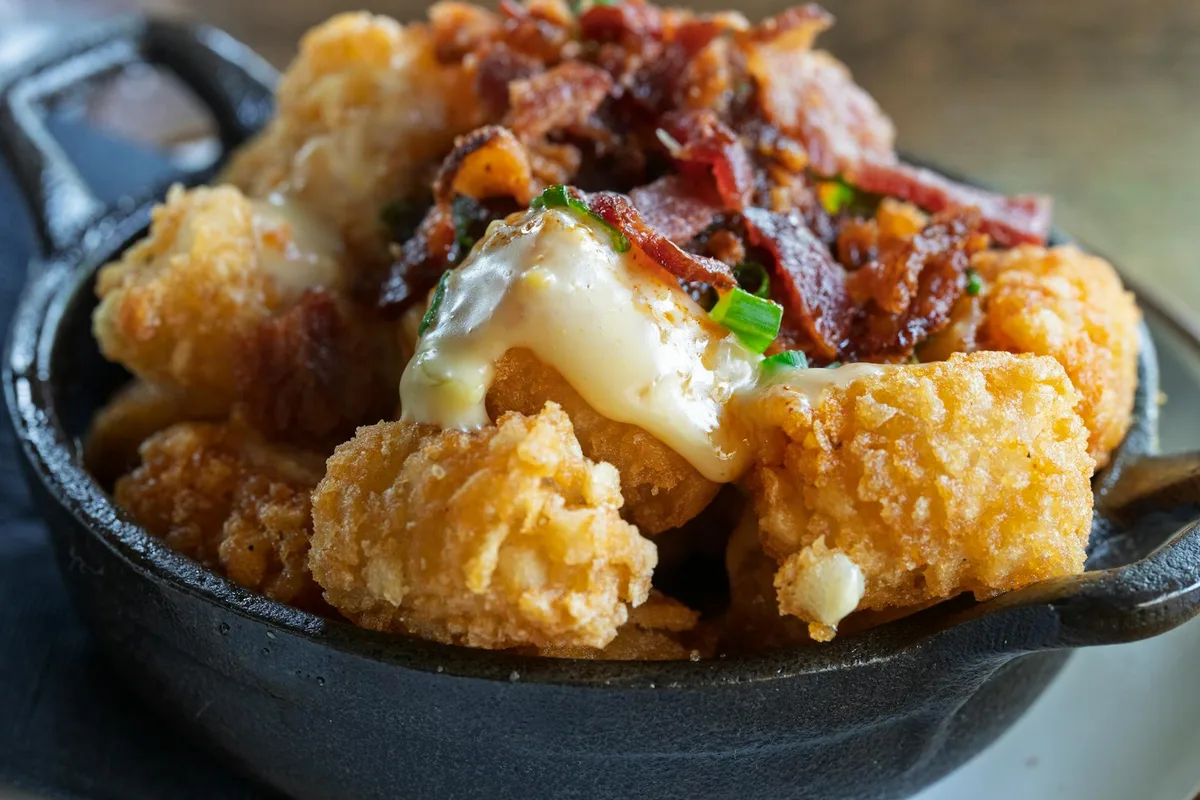
Those little golden potato nuggets are the star for many, and their texture is everything. Achieving truly crispy tater tots relies on allowing moisture to escape during baking. When a casserole is covered, steam gets trapped inside the foil or lid. This steam does a great job of cooking the filling and melting your cheese, but it unfortunately bathes the tater tots, preventing them from browning and crisping up.
If your goal is a topping that crackles when you cut into it, leaving it uncovered is key.
The Gooey Filling Goal
Conversely, if you’re more concerned with ensuring the creamy casserole filling beneath the tots is piping hot and thoroughly cooked, covering can be beneficial. Trapping steam helps to distribute heat evenly throughout the dish, bringing everything to temperature without drying out precious moisture from the filling. This is particularly useful if your filling contains ingredients that need a bit more coaxing to cook through, like raw ground meat or certain vegetables. The choice, therefore, is a direct trade-off between topping crispness and filling moisture.
Key Baking Decisions: Your Workflow
The decision to cover or uncover your tater tot casserole isn't a one-size-fits-all scenario. It’s a dynamic choice based on the specific ingredients in your casserole and your personal preference for the final texture. Think of it as having two main paths to follow.
Option 1: Aiming for Super Crispy Tater Tots
If your heart is set on those delectably crunchy tater tots, the strategy is simple: keep it uncovered. Bake the casserole at your standard temperature, typically around 375°F (190°C). This allows the heat to circulate freely around the tots, drawing out moisture and promoting that beautiful golden-brown crisp. This method works best when your filling is already cooked or doesn't require prolonged exposure to steam to reach its ideal consistency.
You’ll want to start checking the tots for your desired level of crispness around the 25-30 minute mark.
Option 2: Prioritizing a Tender, Melty Filling
When the priority is a perfectly heated, luscious filling, covering the casserole for at least part of the baking time is often the way to go. This method is ideal if your casserole contains raw meat that needs to cook through, or if you’re aiming for a very creamy, almost saucy consistency in the base. Covering traps steam, which acts as a moist heat to cook the filling thoroughly and melt cheese without toughening or drying out the layers beneath the tater tots. While this might mean the tots aren't as crispy, it guarantees a well-cooked and satisfying interior.
Step-by-Step Casserole Baking Guide
Mastering tater tot casserole involves a few simple steps, especially when you're aiming for a specific outcome. The process can be adapted based on whether maximum crispiness or optimal filling texture is your main goal.
Starting the Bake: Initial Browning
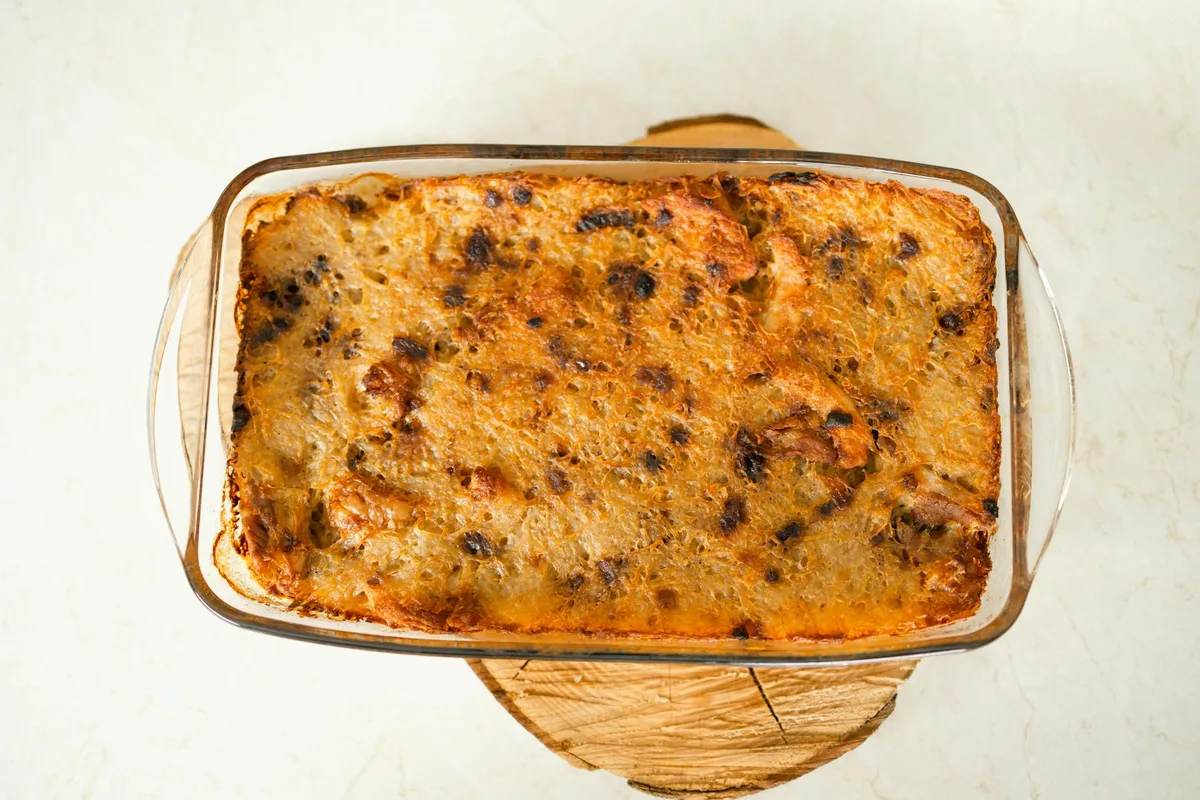
For most recipes, a good starting point is to preheat your oven to 375°F (190°C). Assemble your tater tot casserole in its baking dish, ensuring the tater tots are spread evenly over the filling. Begin the baking process uncovered. This allows the tater tots to get a head start on browning and crisping up, setting the stage for that desirable texture.
This initial phase usually lasts for about 15-20 minutes.
Mid-Bake Check: Assess and Decide
After the initial baking period, it's time to check on your creation. Pull the casserole out and assess the appearance of the tater tot topping and the general state of the filling. If the tots are already achieving a nice golden hue and you’re happy with the way the filling looks, you might proceed to the final baking stage uncovered. However, if the tots are browning too quickly and you want to protect them, or if the filling still looks pale and needs more cooking time, this is your cue to cover the dish.
Finishing the Bake: Achieving Perfection
If you've decided to cover the casserole at the mid-bake check, loosely tent the dish with aluminum foil. This prevents further browning of the tater tots while allowing the filling to continue cooking and heating through. Return the covered casserole to the oven for another 10-15 minutes. For the final 5-10 minutes of baking, remove the foil.
This last step is crucial for re-crisping the tater tots, ensuring they have that irresistible crunch before serving. This dual approach leverages the benefits of both covered and uncovered baking.
Common Mistakes to Avoid
Failing to consider the type of tater tot casserole you're making is a common pitfall. For instance, if your filling is packed with moisture-rich ingredients like cream of mushroom soup and already-cooked ground beef, skipping the foil entirely might lead to a soupier base than you intended. On the flip side, if you're making a leaner casserole with just tater tots and cheese, covering it for too long could prevent those tots from ever achieving peak crispiness.
Another frequent error is relying solely on a timer. Ovens vary significantly in their actual temperature output; a thermostat reading of 375°F (190°C) might be closer to 350°F (175°C) or even 400°F (205°C) in some units. Always use visual cues, the golden-brown color of the tots, the bubbling of the filling, and the melt of the cheese, to gauge doneness, rather than just the clock. This is particularly true when trying to perfect the balance between covered and uncovered baking stages.
When Foil Becomes Your Enemy
Using aluminum foil is a tool, not an absolute command. Foil becomes the enemy when it's used for the entire baking duration when your goal is a crispy top. If you cover your casserole from start to finish, you're essentially steaming the tots, creating a soft, doughy texture instead of the desired crunch. This happens because the foil traps all the moisture released from the filling, preventing it from evaporating.
This approach also risks undercooking the very top layer of your filling, especially if it's dense. The trapped steam might not effectively brown or caramelize any cheese that’s on the surface, leaving it looking pale and unappetizing. For critical crispness, foil should be a temporary measure, not a permanent fixture.
Ignoring a Pale Topping
On the flip side, ignoring a pale, uninspired tater tot topping when you want it crispy is a mistake. If your casserole has been baking for its expected time, and the tots are still quite blonde, it means they haven't had enough direct heat exposure. This usually signals that the casserole was covered for too long or that the oven temperature wasn't quite hot enough to achieve browning within the typical bake cycle.
This often happens when bakers cover the casserole early to ensure the filling cooks, but then forget to uncover it for the final crisping stage. The result is a fully cooked filling but a disappointing lack of texture on top. Manufacturers of baking dishes or oven brands often provide general guidance on heat distribution, but visual checks are paramount here.
Pro Tips for Perfect Tater Tot Casserole
Here are a few tricks seasoned home cooks use to nail their tater tot casserole every time. One popular tip is to lightly spray the tater tots with cooking oil before layering them on top. This small step can significantly enhance their crispiness, especially when they're baked uncovered. It helps them achieve a more even golden-brown color and a satisfying crunch, even if the filling is a little moist.
Another helpful tactic involves adding a layer of shredded cheese underneath the tater tots, in addition to a sprinkle on top. This creates a delicious cheesy barrier that also helps hold the tots in place. When the cheese melts and slightly crisps at the edges, it can provide an extra layer of flavor and texture that complements the potatoes. For optimal results, ensure your oven is calibrated or use an oven thermometer, as consistent temperature is key.
Ensuring Your Casserole is Cooked Through Safely
Food safety is paramount, especially when dealing with casseroles that contain raw meat or other perishable ingredients. The core principle is to ensure the filling reaches a safe internal temperature. For ground meat, this means reaching at least 160°F (71°C) throughout. Undercooked meat can harbor harmful bacteria like Salmonella or E. coli.
Using a meat thermometer is the most reliable way to confirm your filling is safe to eat. Insert the thermometer into the thickest part of the casserole, avoiding any tater tots or large chunks of vegetables. If you're not using a thermometer, remember that adequate cooking time, particularly when the casserole is covered to trap steam, is your primary defense against undercooking. Aim for the higher end of the recommended baking time if unsure.